SDC execute
Overview#
This section covers the third and final step in creating a single dimension campaign. It consists of:
- Viewing pre-campaign analytics
- Setting up frequency caps and control group/target group
- Confirming campaign execution
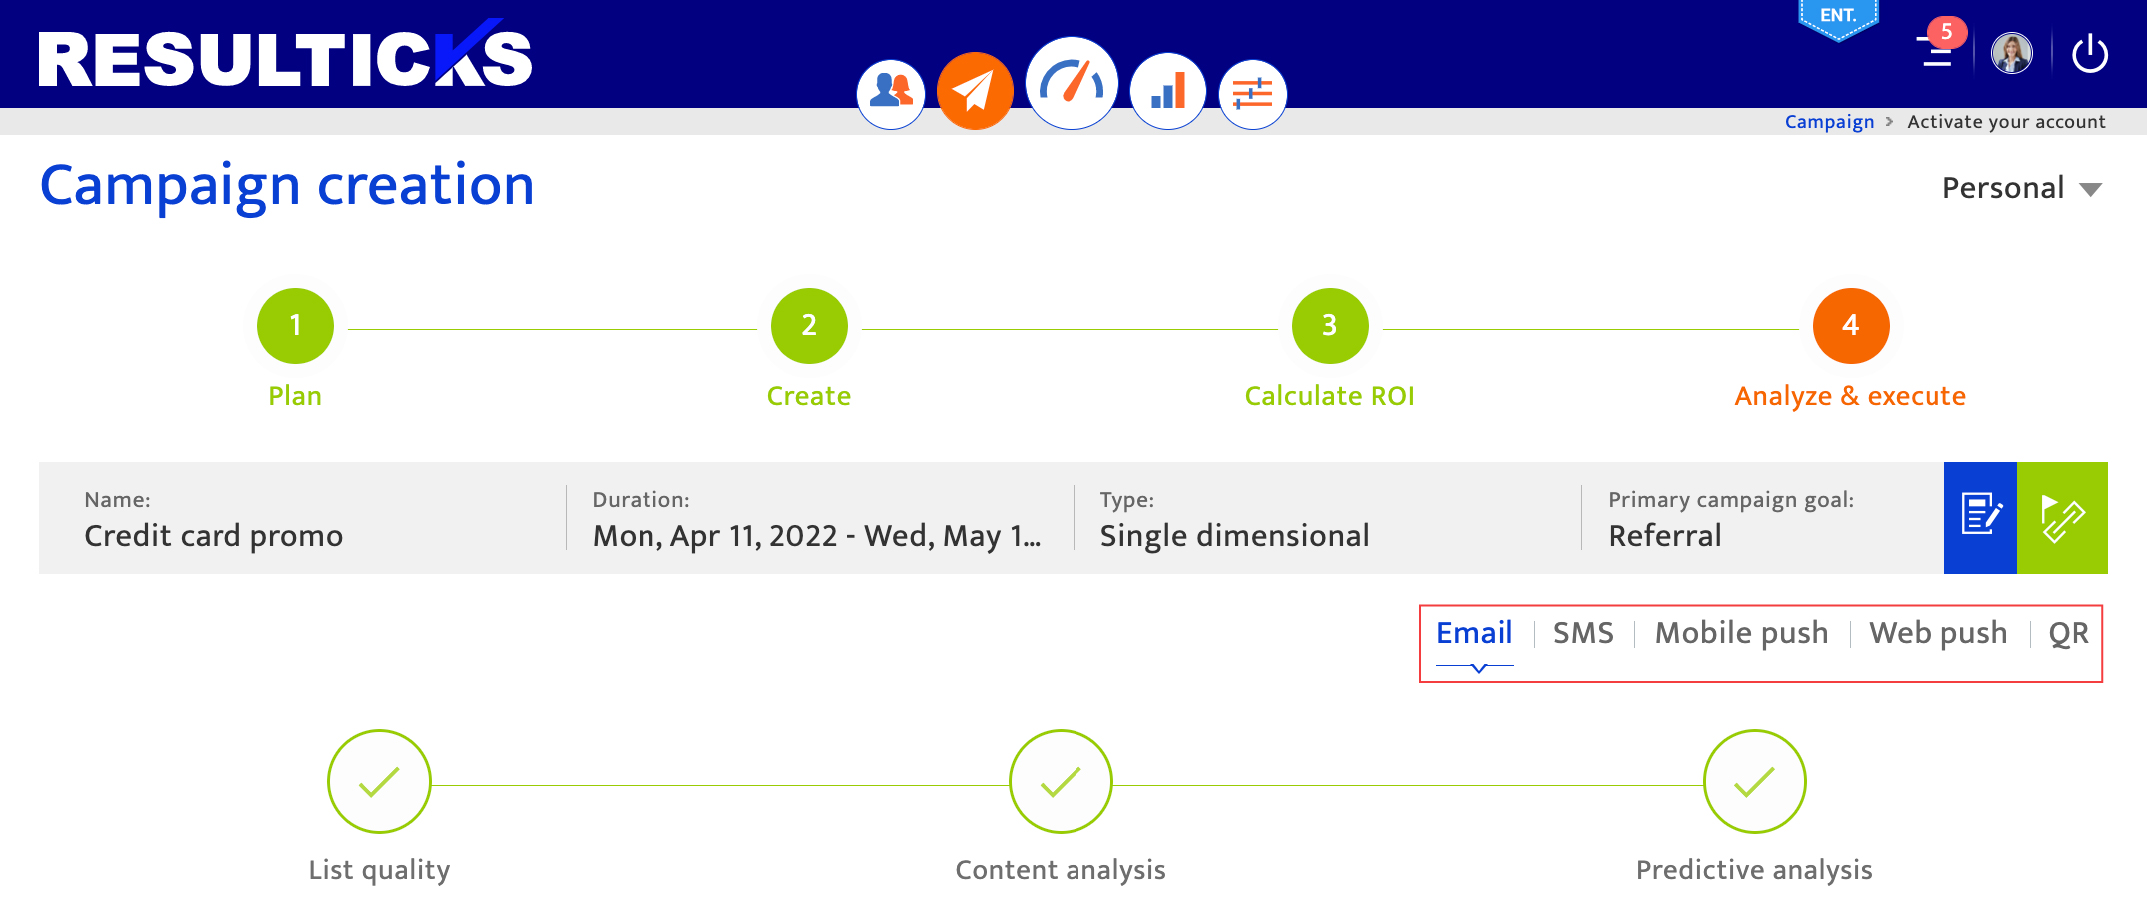
Accessing campaign execution#
The execution step becomes available following campaign content creation for a new campaign or one in Draft status.
- Select the channel you would like to view pre-campaign analytics for by clicking on the relevant tab.
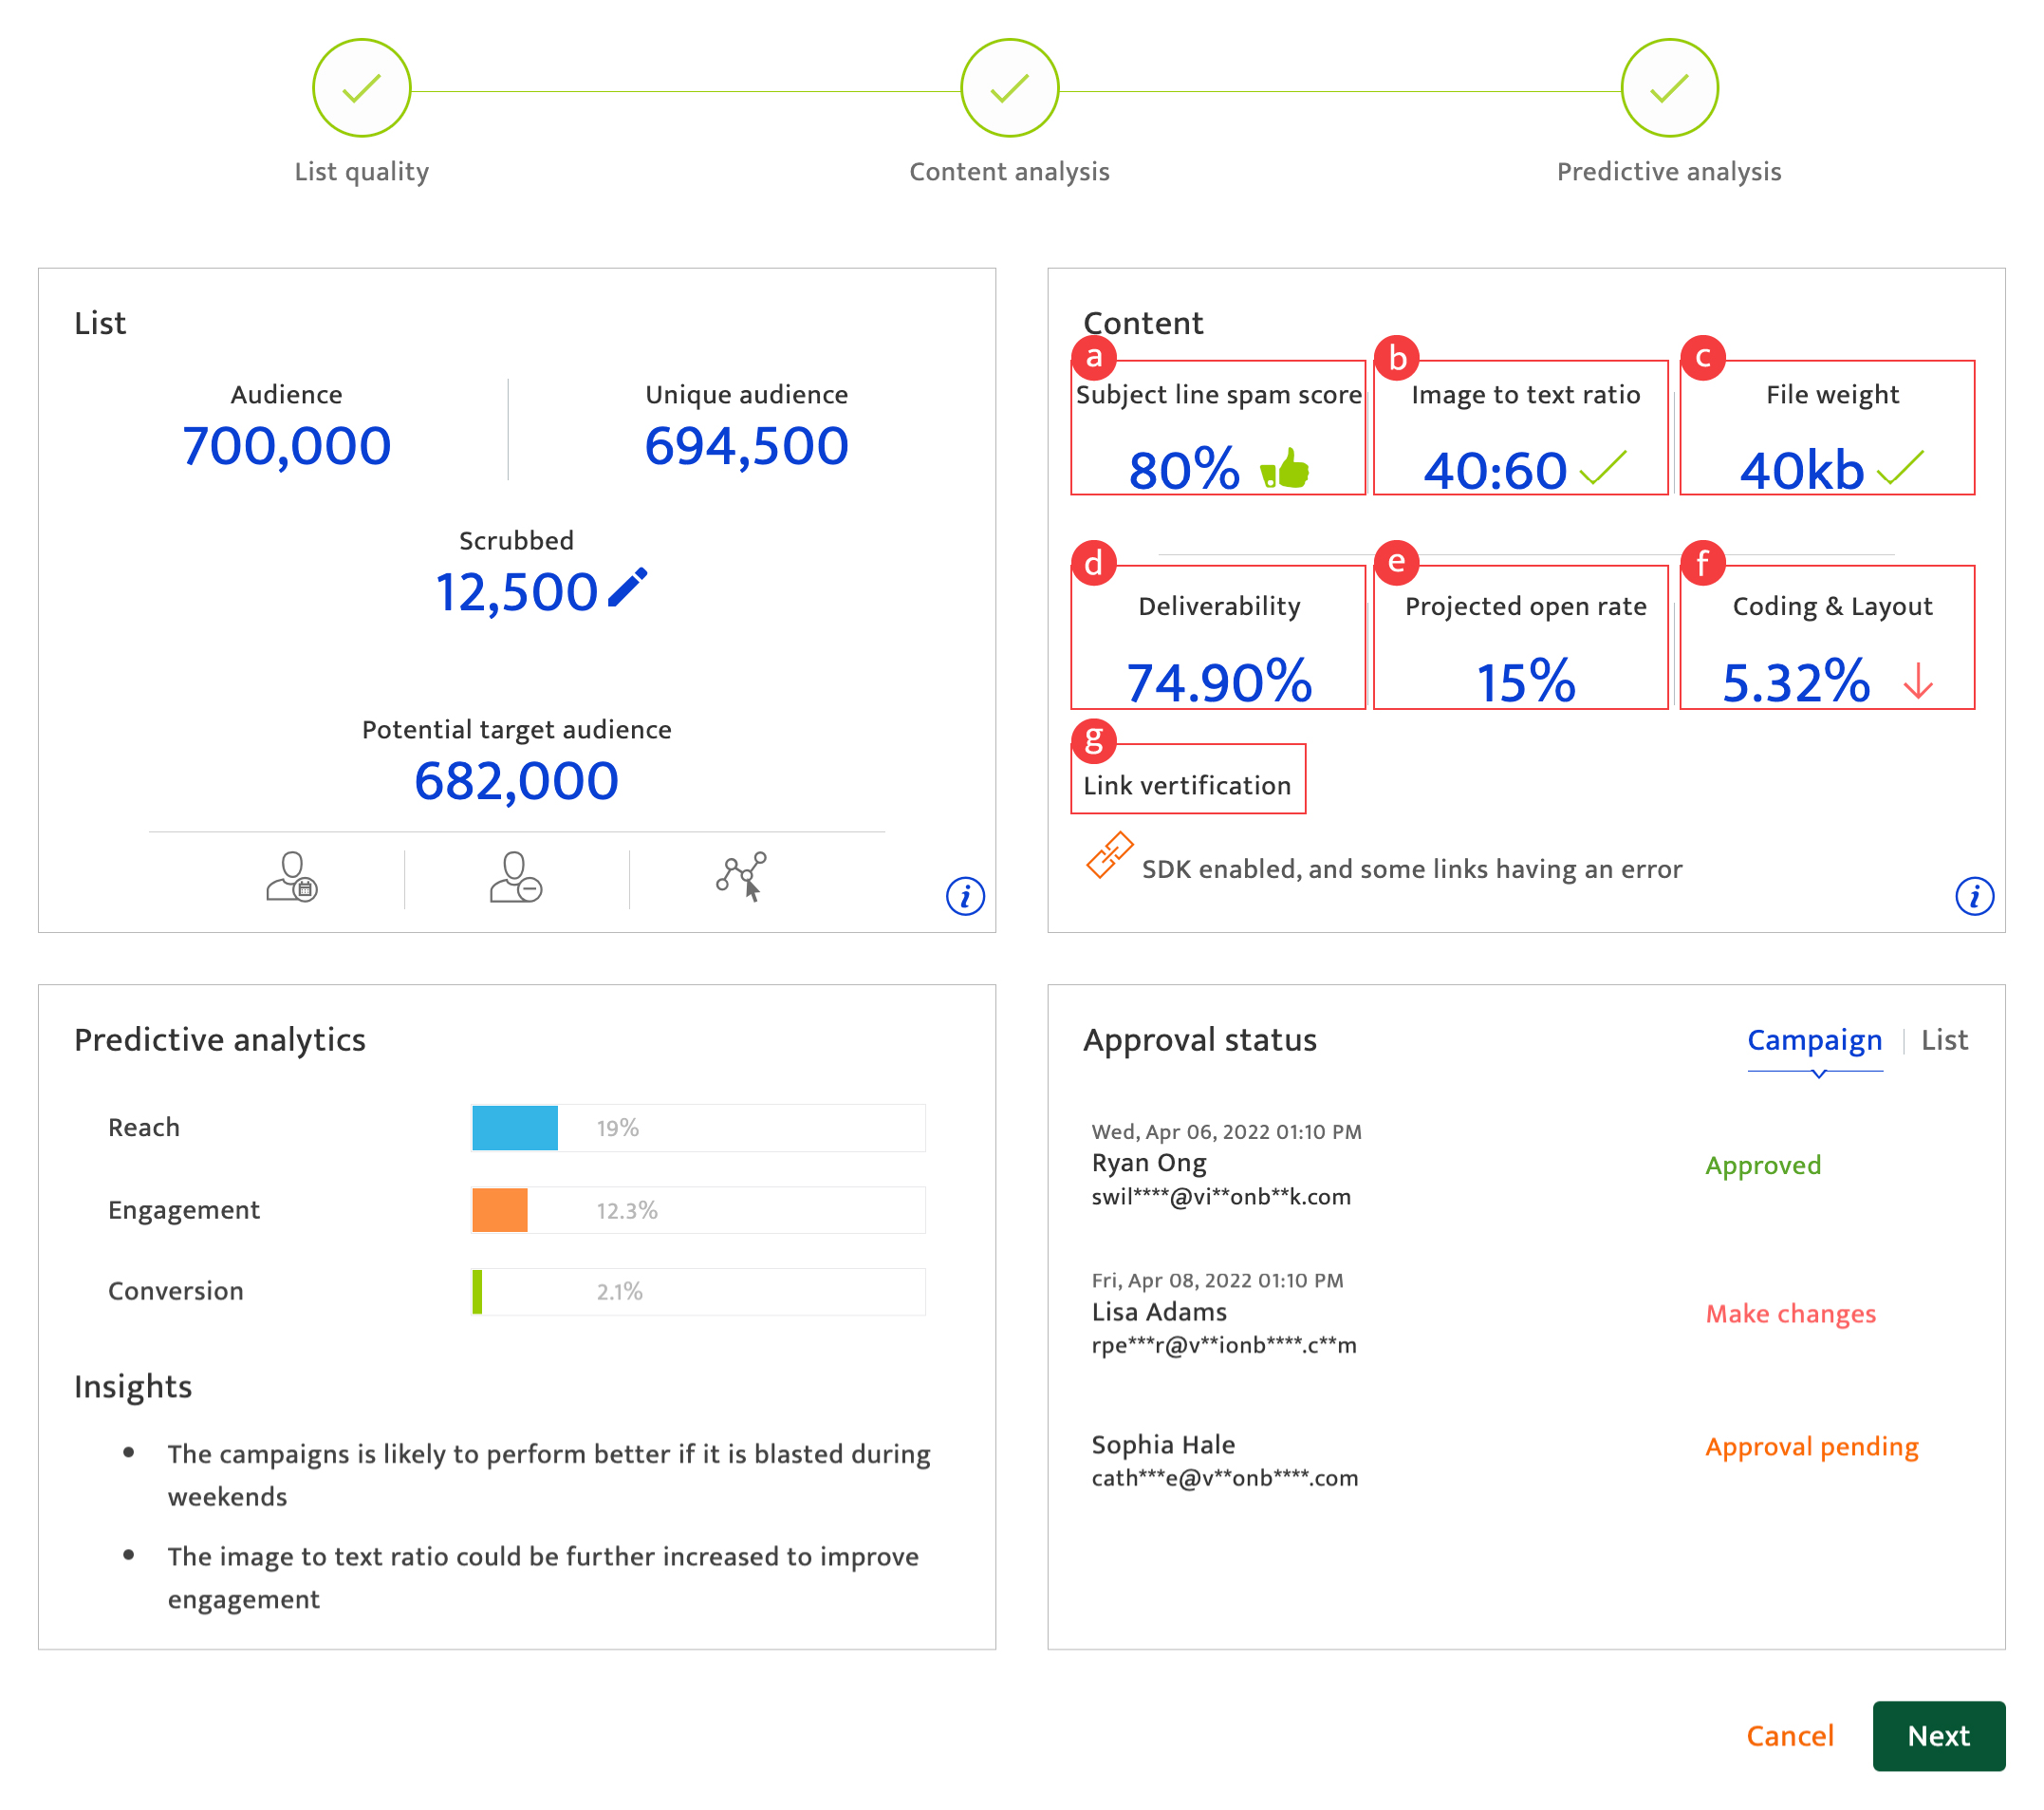
- Review the list quality assessment to ensure you understand your target audience numbers. This section displays:
- Audience (a) list size in total. This is the total number of contacts in the target list(s) selected.
- Scrubbed (b) contacts within the audience list. These contacts have been scrubbed from the audience list because:
- They have invalid contact details.
- They have blacklisted communications they have received in the past (Unsubscriptions, marked as spam, etc.)
- They were not reached by past campaign communications (examples: hard bounces).
- Potential target audience (c), to whom the campaign communication will be finally sent, after the application of the scrubbing and frequency caps settings.
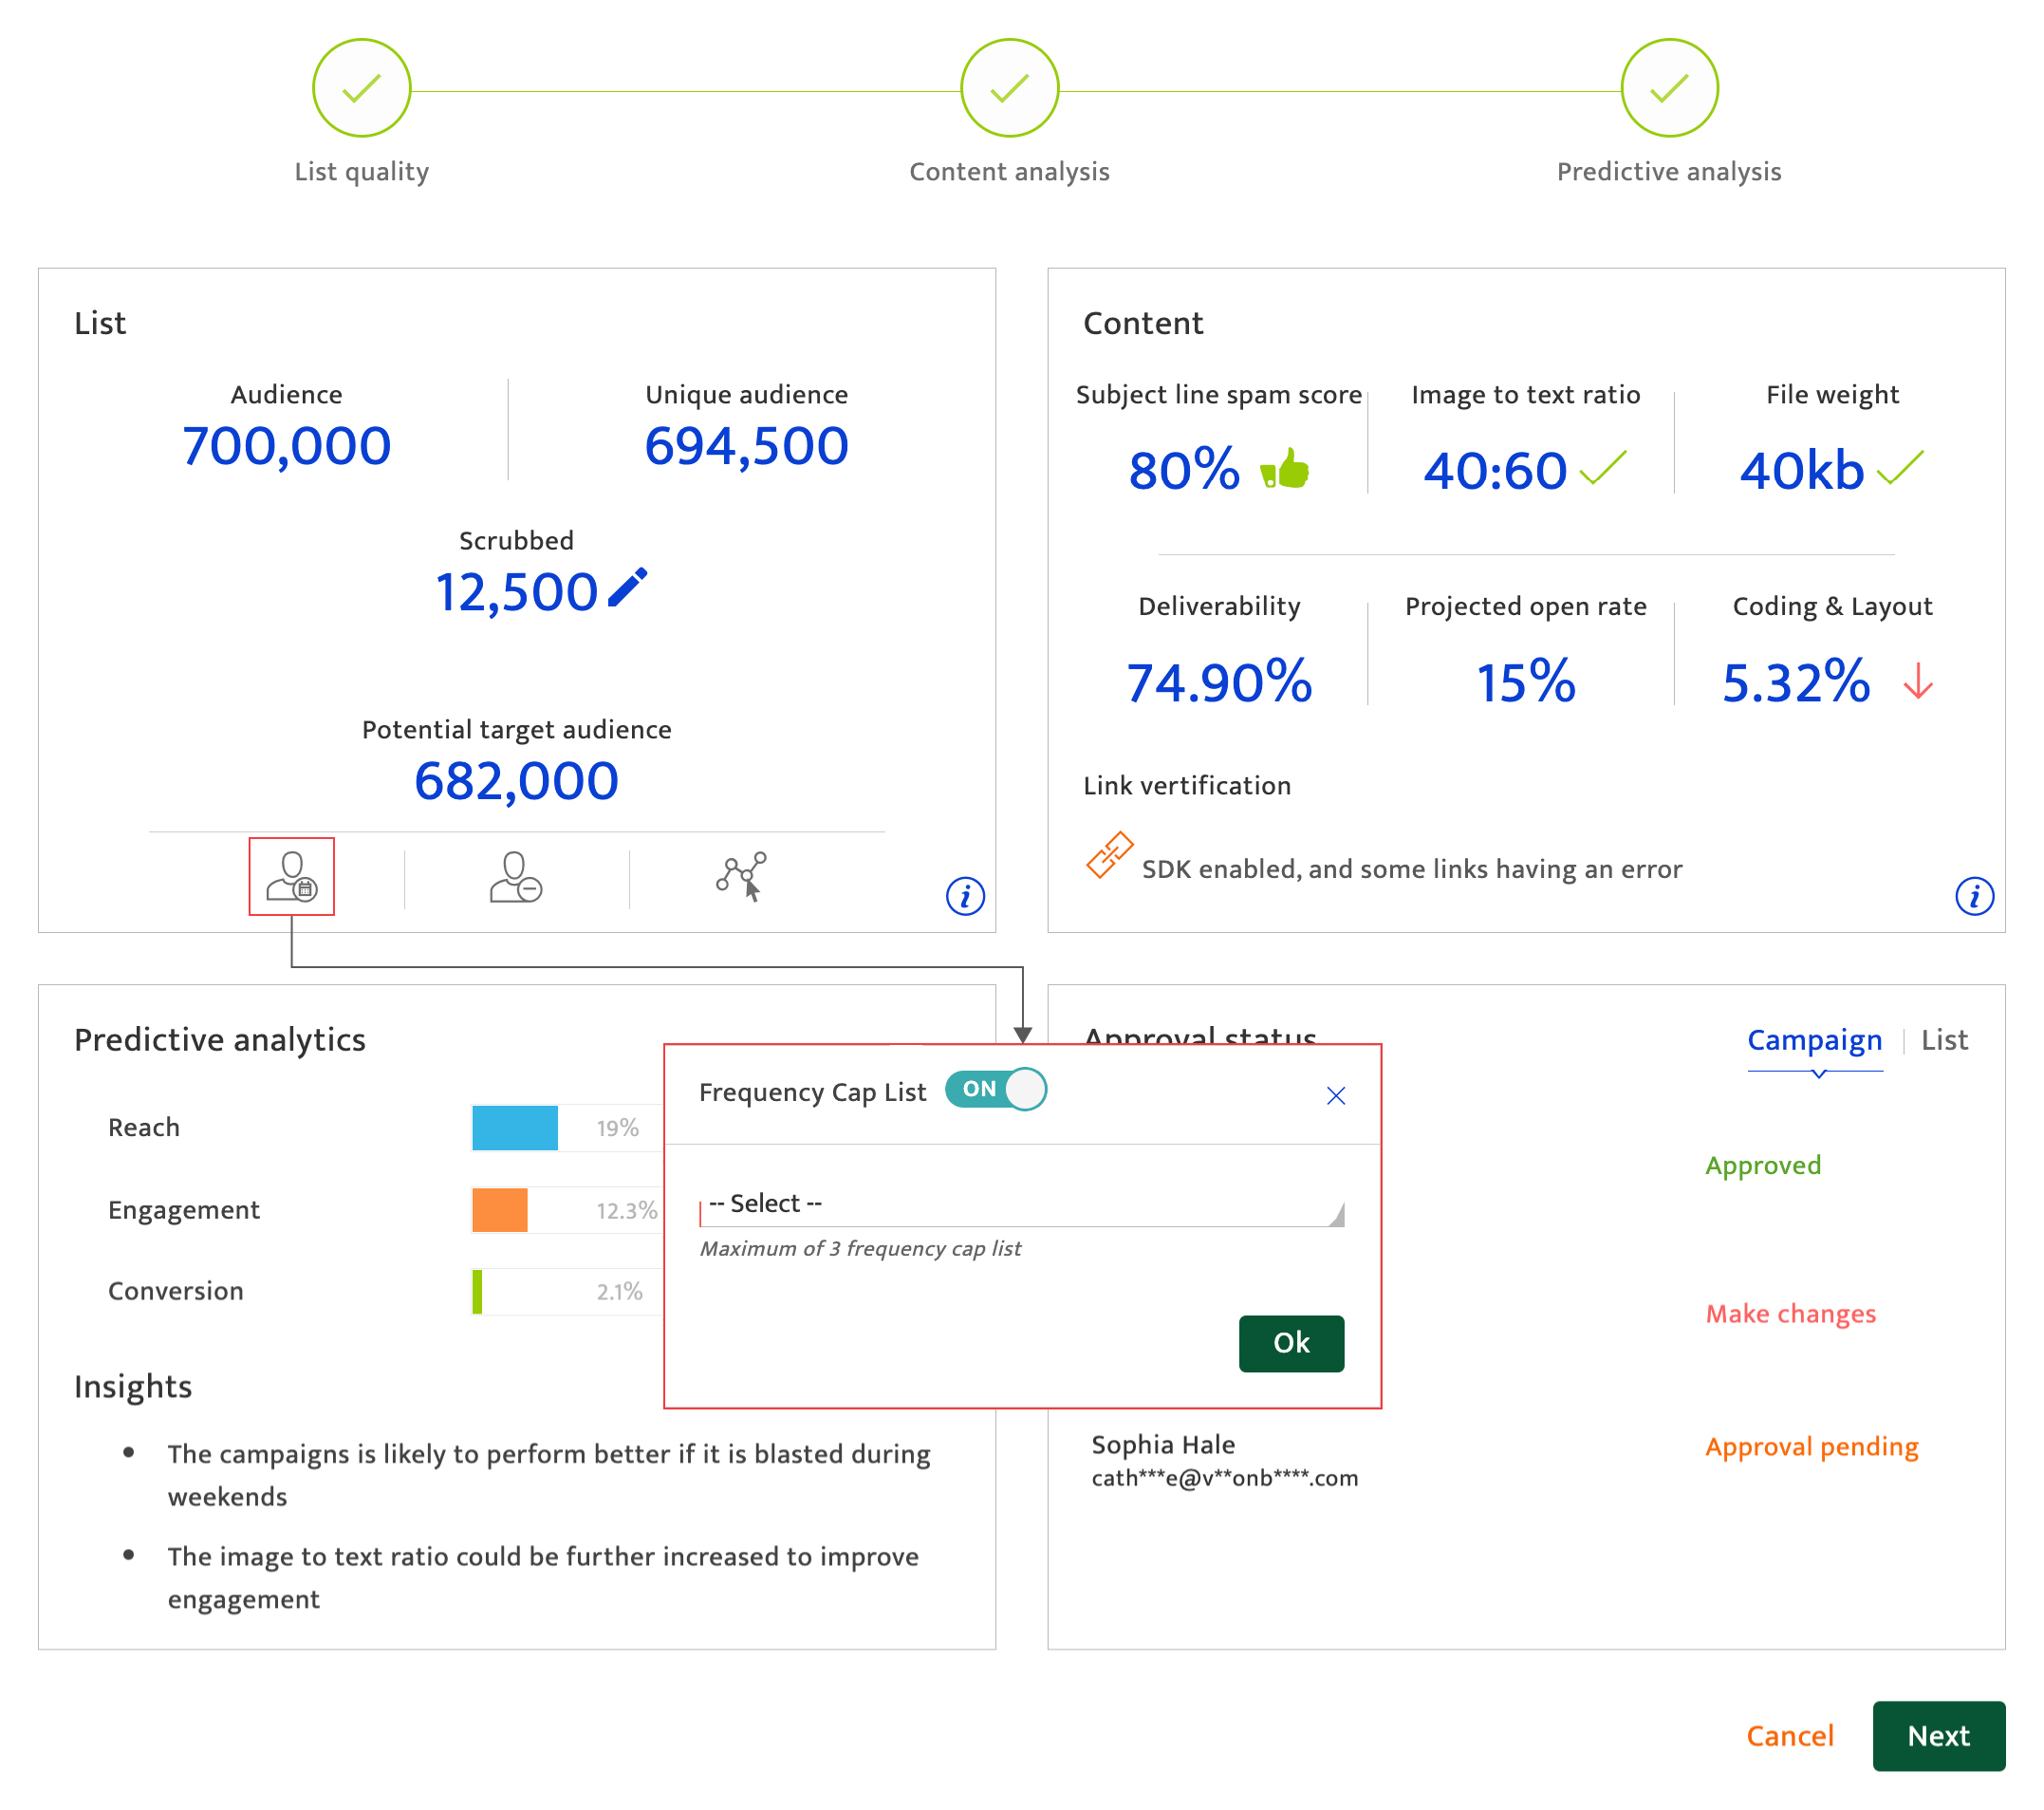
- Turn on frequency cap (d) control to apply the setting, using the toggle switch to turn it on or off.
When turned on, select a setting to apply from the drop-down list displayed. Note that the frequency cap group setting is applied by the channel type.
For more details on configuring frequency caps view the [communication settings ](/platform-guide/preferences/setup/communication-settings/overview) module. - Manage the control group/target group setting (e) by clicking on the icon. If disabled, toggle the switch to "On" and proceed. Once enabled, the slider can be moved to set the control group size(the maximum % of the audience list that can be set as a control group is 20%). The control group will not receive the campaign communications, while the target group will. Responses from the two groups are compared to evaluate a campaign’s impact. Click the "Save" button to retain the settings or "Cancel" to discard the changes.
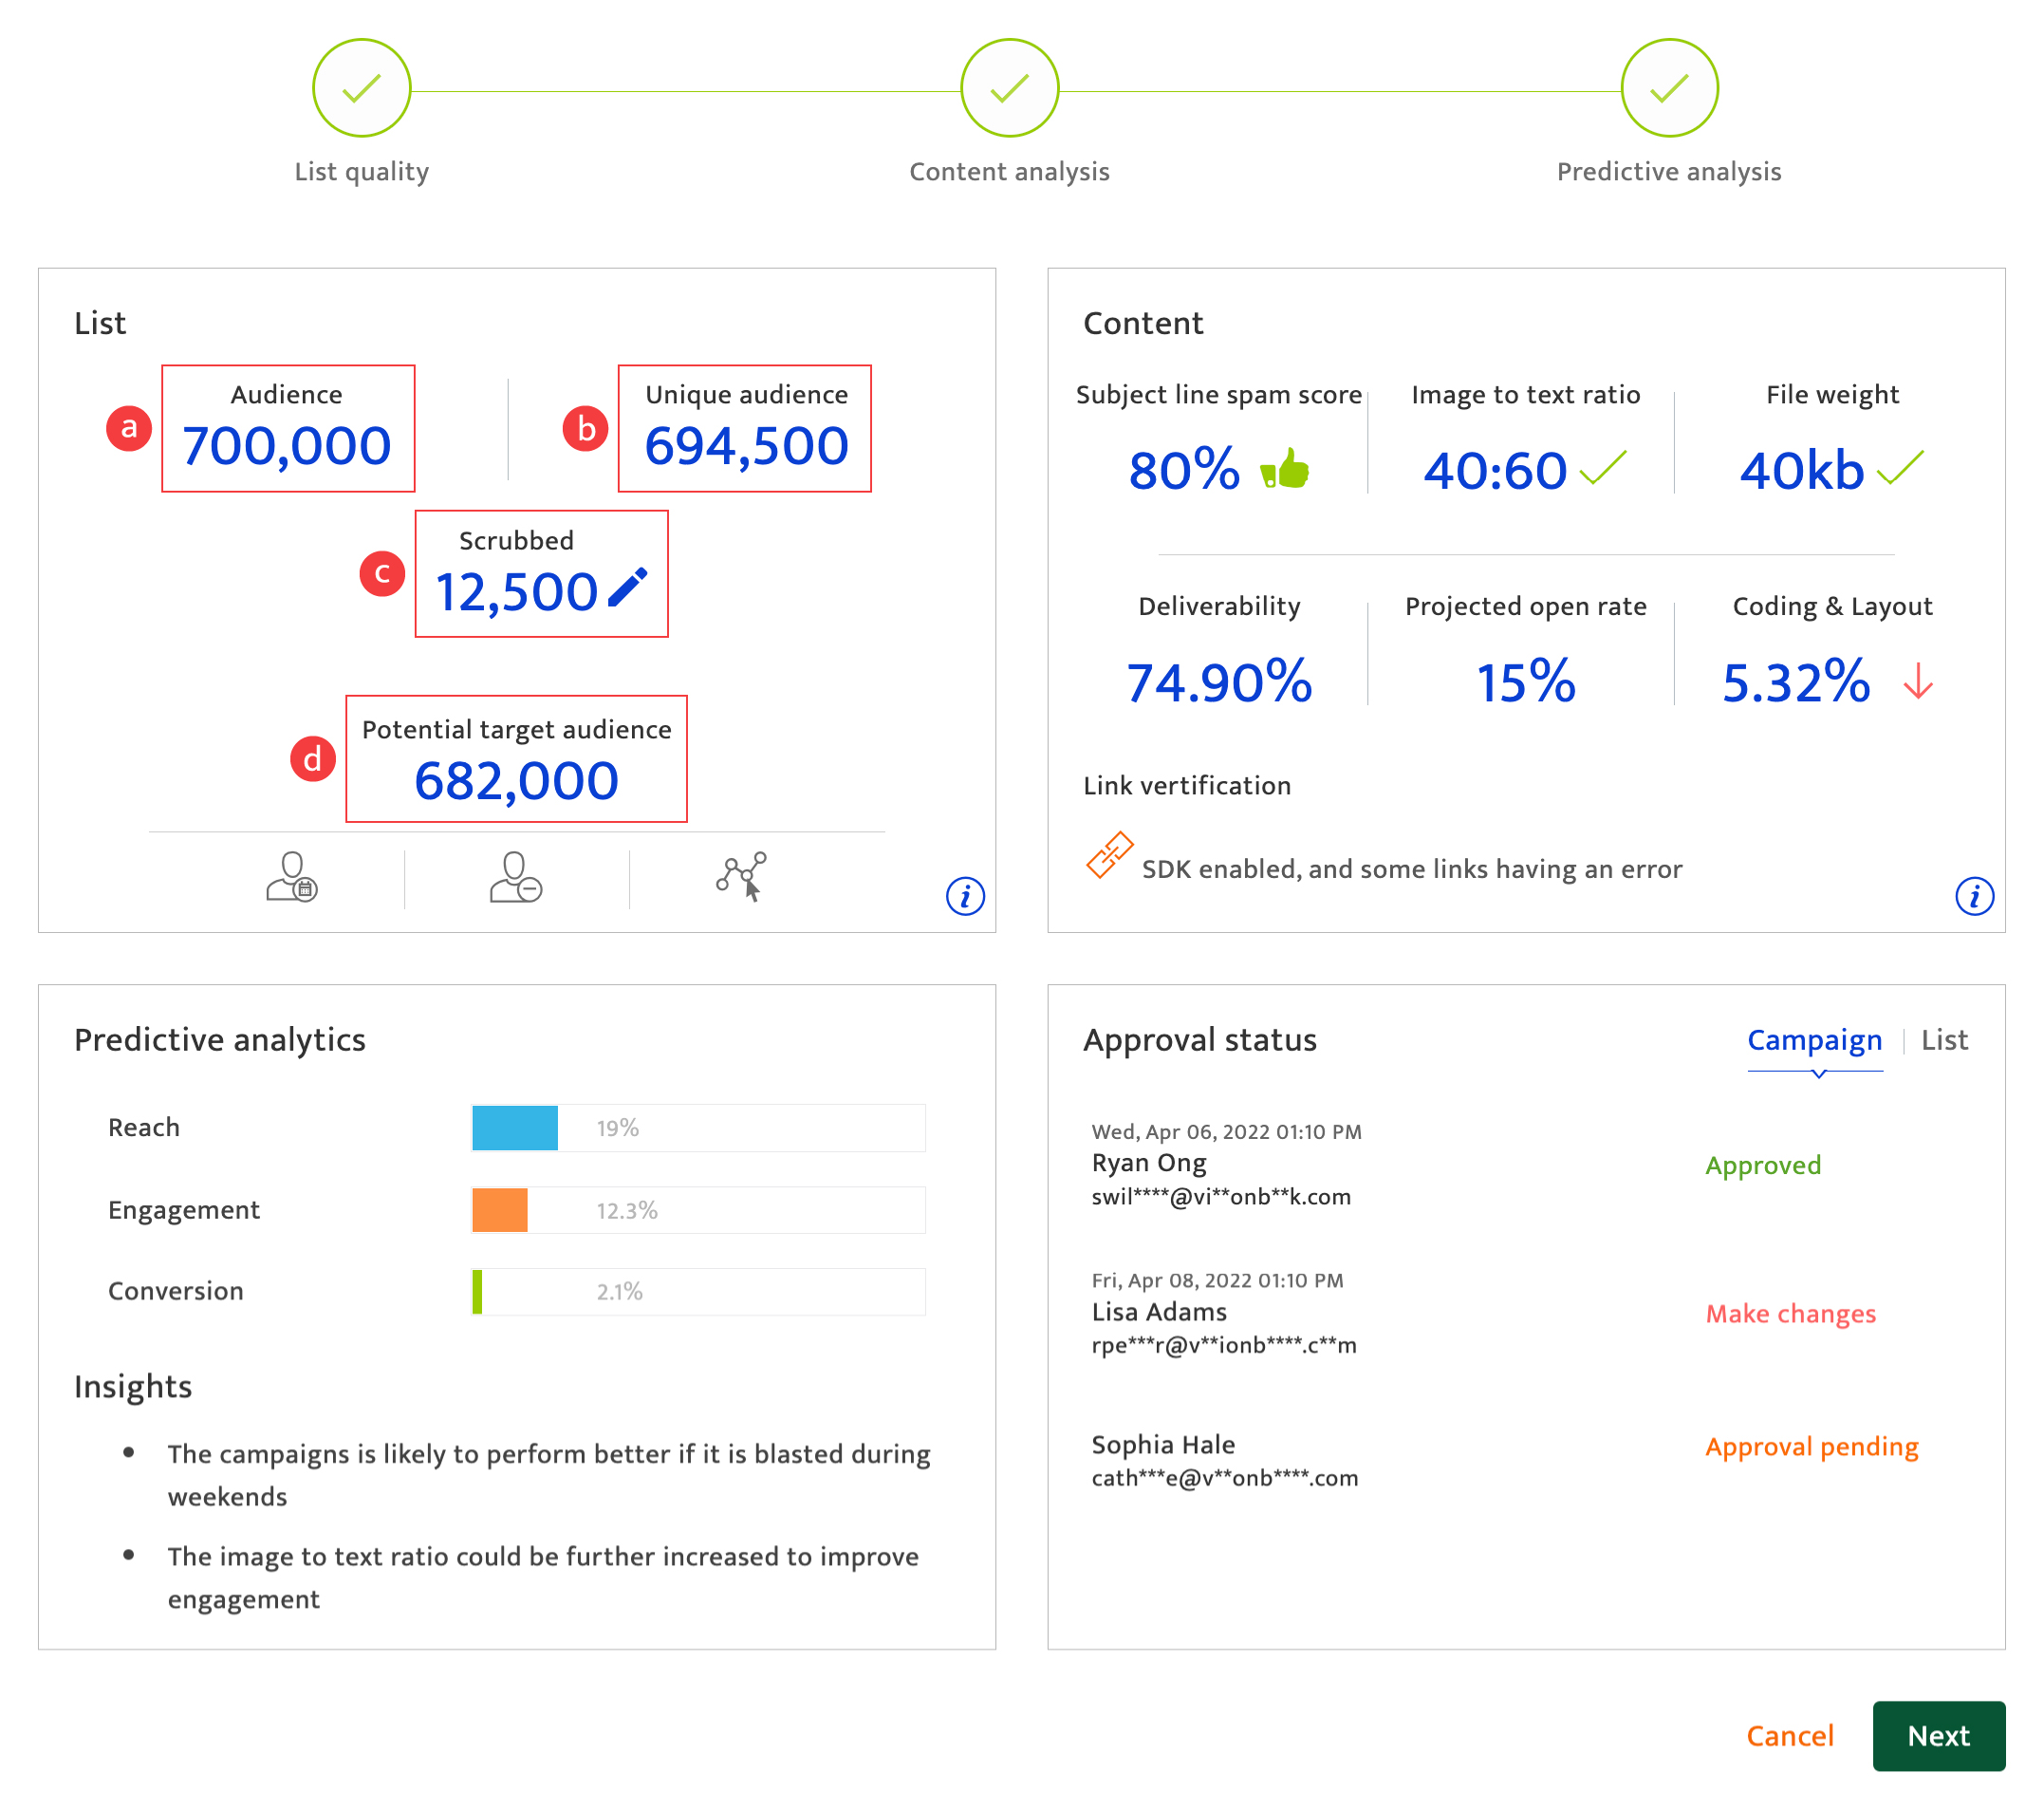
- Review the content assessment to maximize impact on the audience. A green icon is used to display an acceptable score; a red icon indicates the need for review and rectification wherever possible.
Content elements reviewed are:- Subject line spam score (a) - This score indicates the likelihood of your email ending up in the email spam box.
The Resulticks platform utilizes proprietary AI modeling to calculate this score. The icon color changes from green to yellow to red as the score reduces. - Image to text ratio (b) represents the amount of space dedicated to image versus text in the content, with an icon indicating if the ratio is acceptable for the channel of communication.
Best practices recommend a ratio of 80% image and 20% text. - File weight (c) indicates if the file size is acceptable for the channel of communication.
- Link verification status (d) indicates if the links included in the communication are "live".
- SDK status indicates whether the Resulticks SDK code generated from the platform has been embedded successfully.
- Subject line spam score (a) - This score indicates the likelihood of your email ending up in the email spam box.
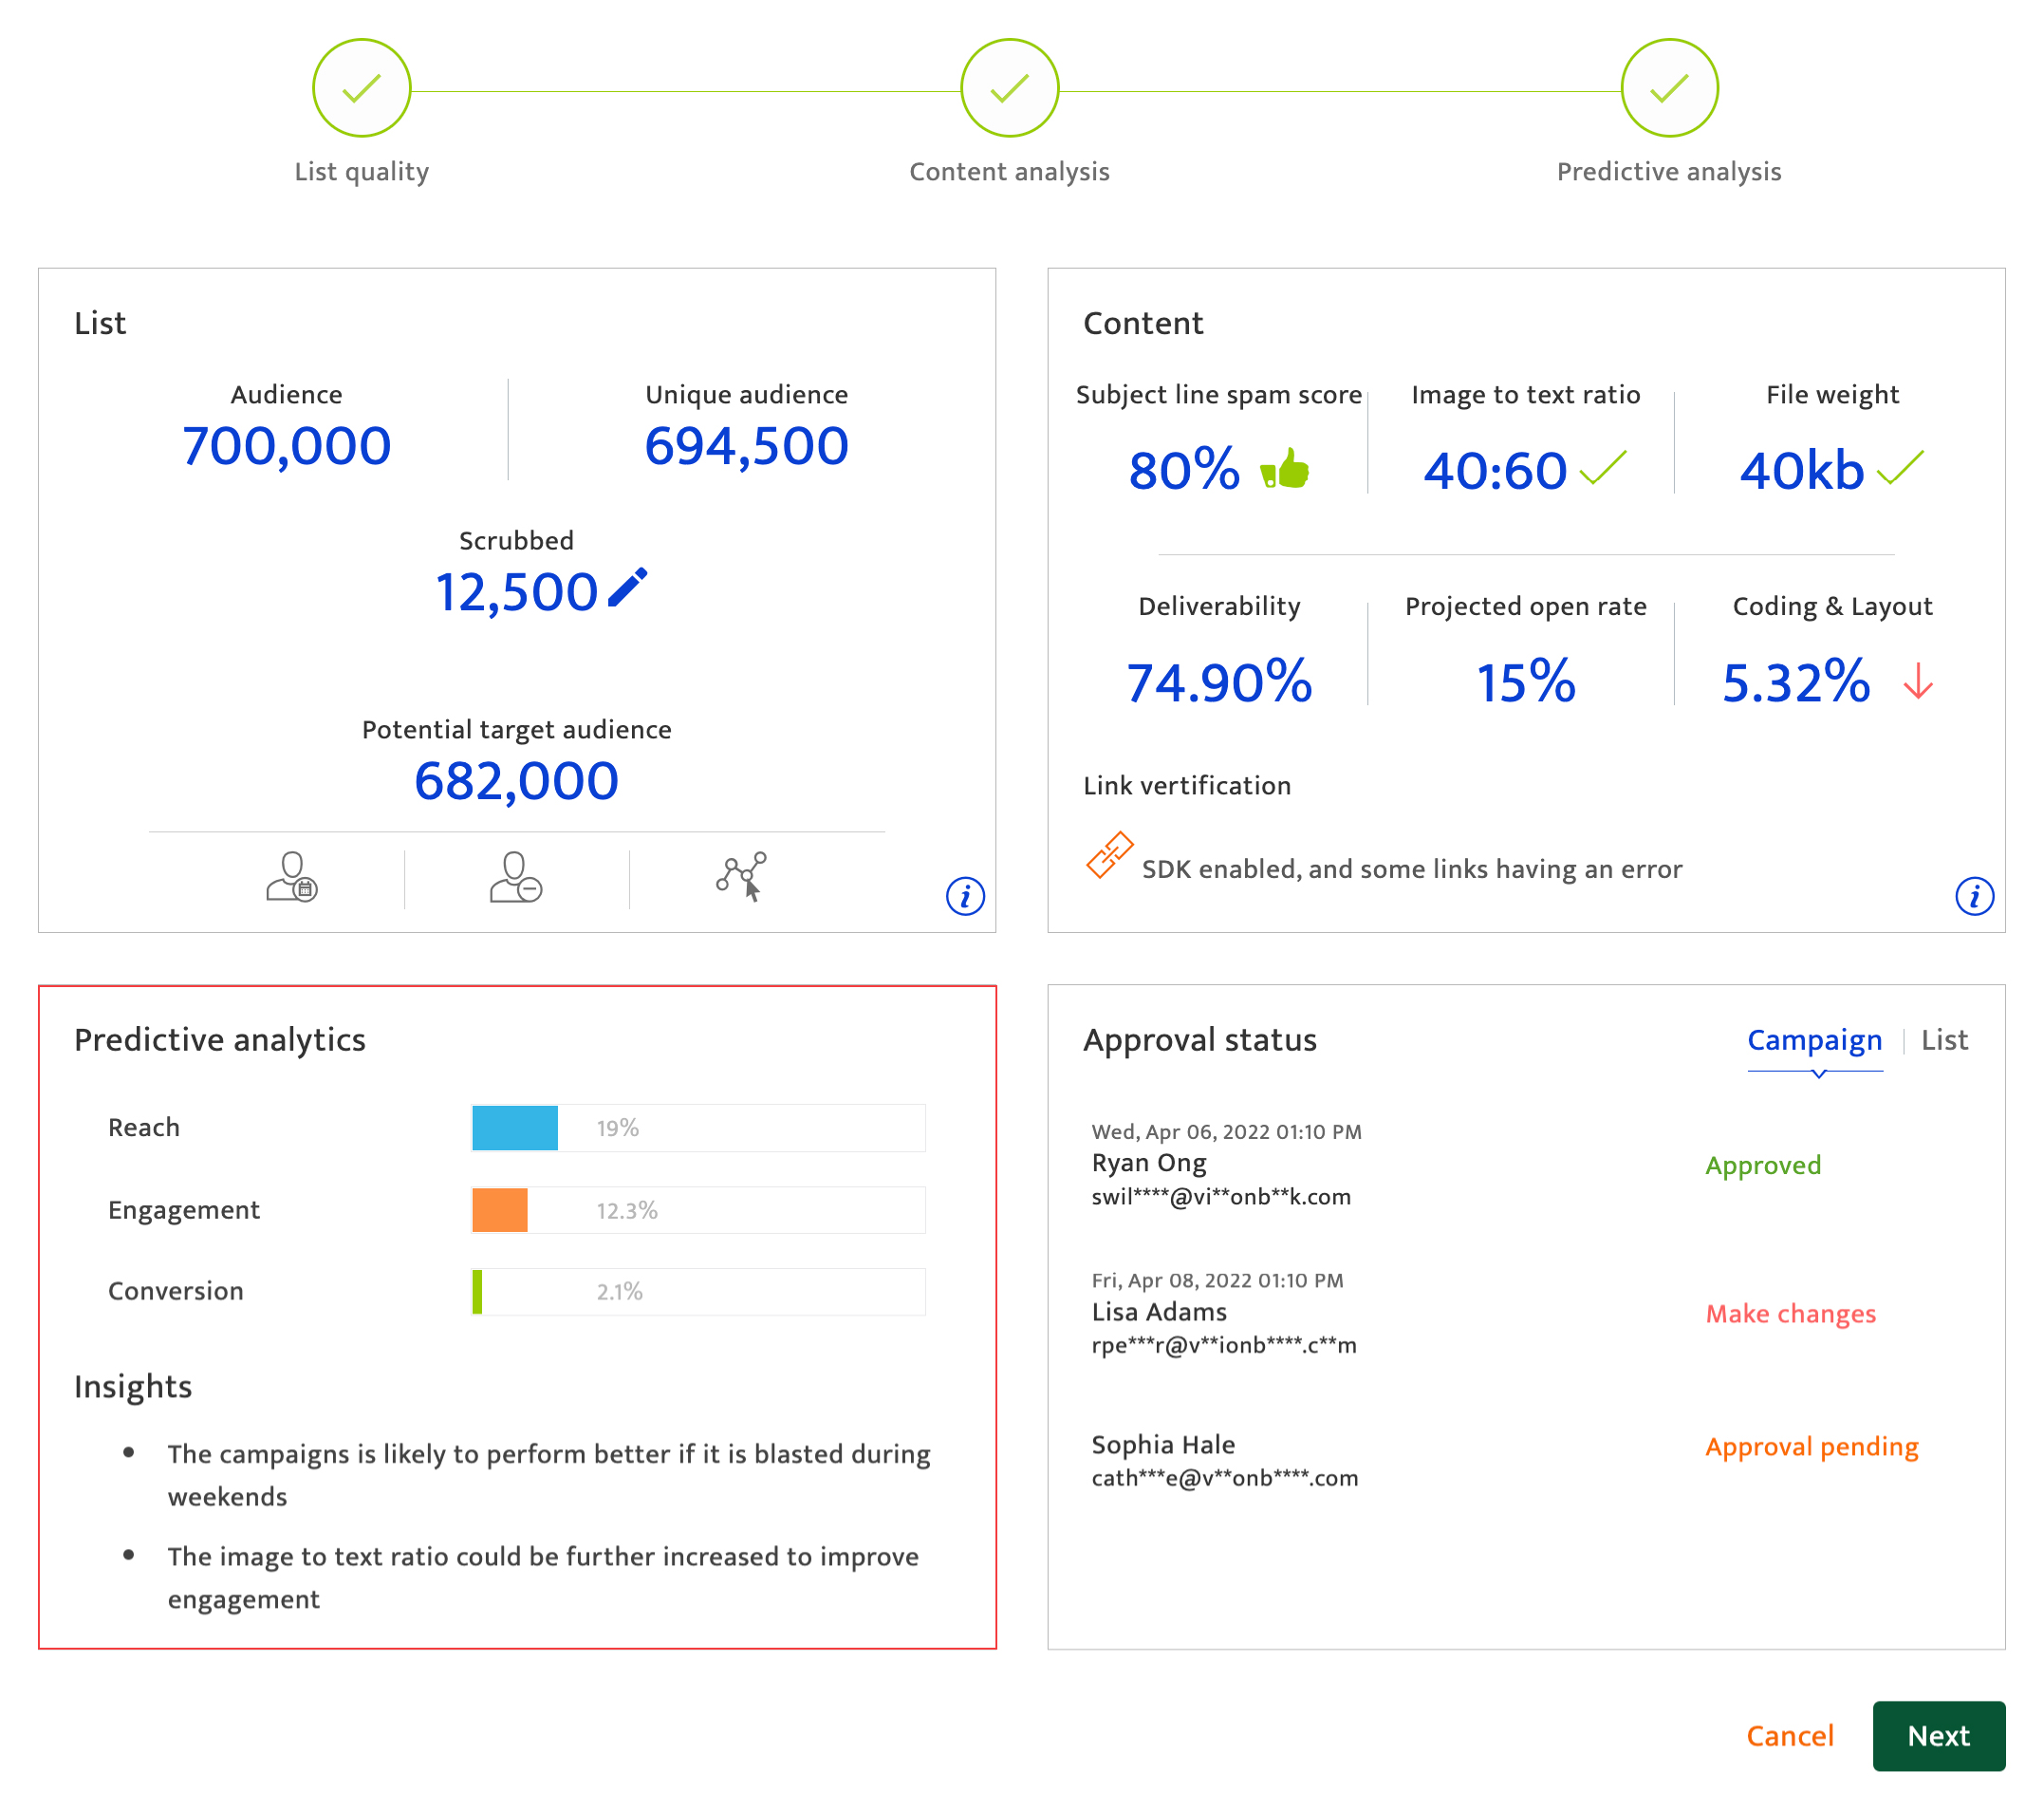
- Review the pre-campaign analytics to get a view of the likely campaign outcomes as well as recommendations to improve its performance. Elements reviewed are: Predicted reach, engagement, conversion.
This predicted score is expressed as a percentage of the final target list. It is calculated based on Resultick’s proprietary AI modeling that takes into consideration multiple factors including propensities related to:- Channel
- Time
- Audience
- Content
- Offer type (if any)
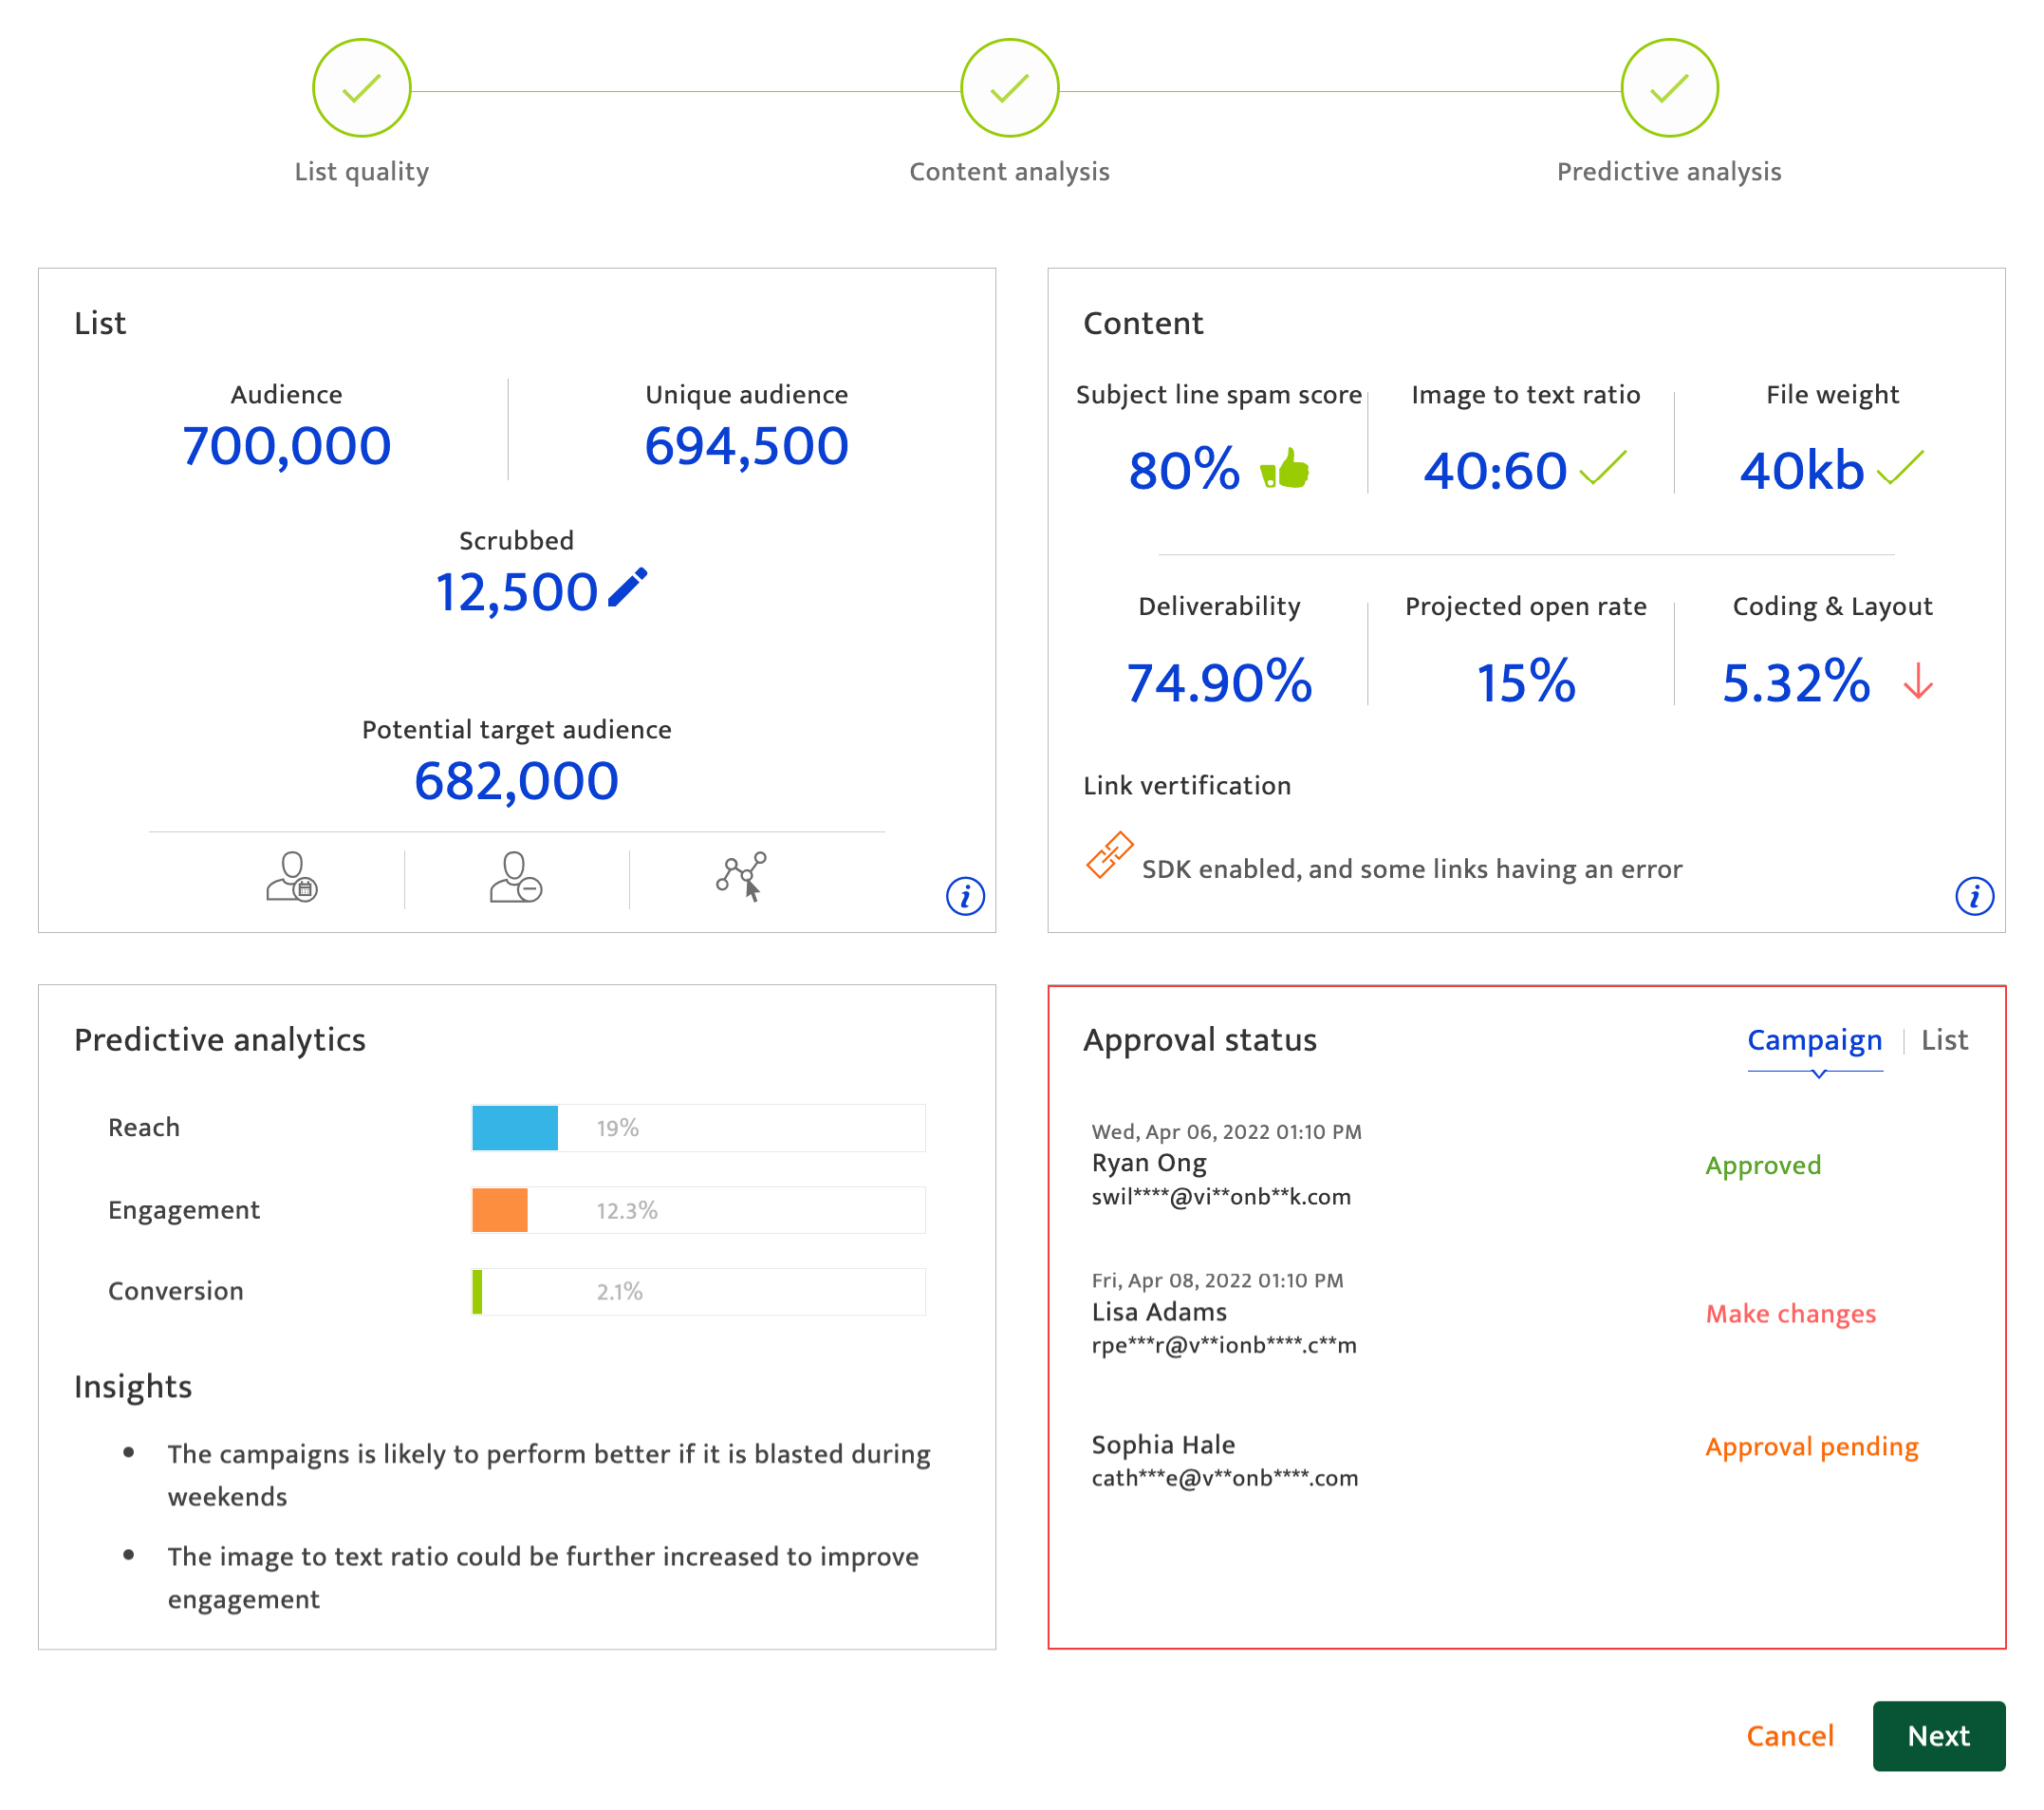
- Click "Next" to return to the campaign list.