Data attributes
What is it?#
Resulticks’ customer data platform supports ingesting and managing large scale data attributes effectively in real-time from multiple data sources
Making changes and authorization#
Only Super Users, Administrators, and the Key Contact for the account can use this module.
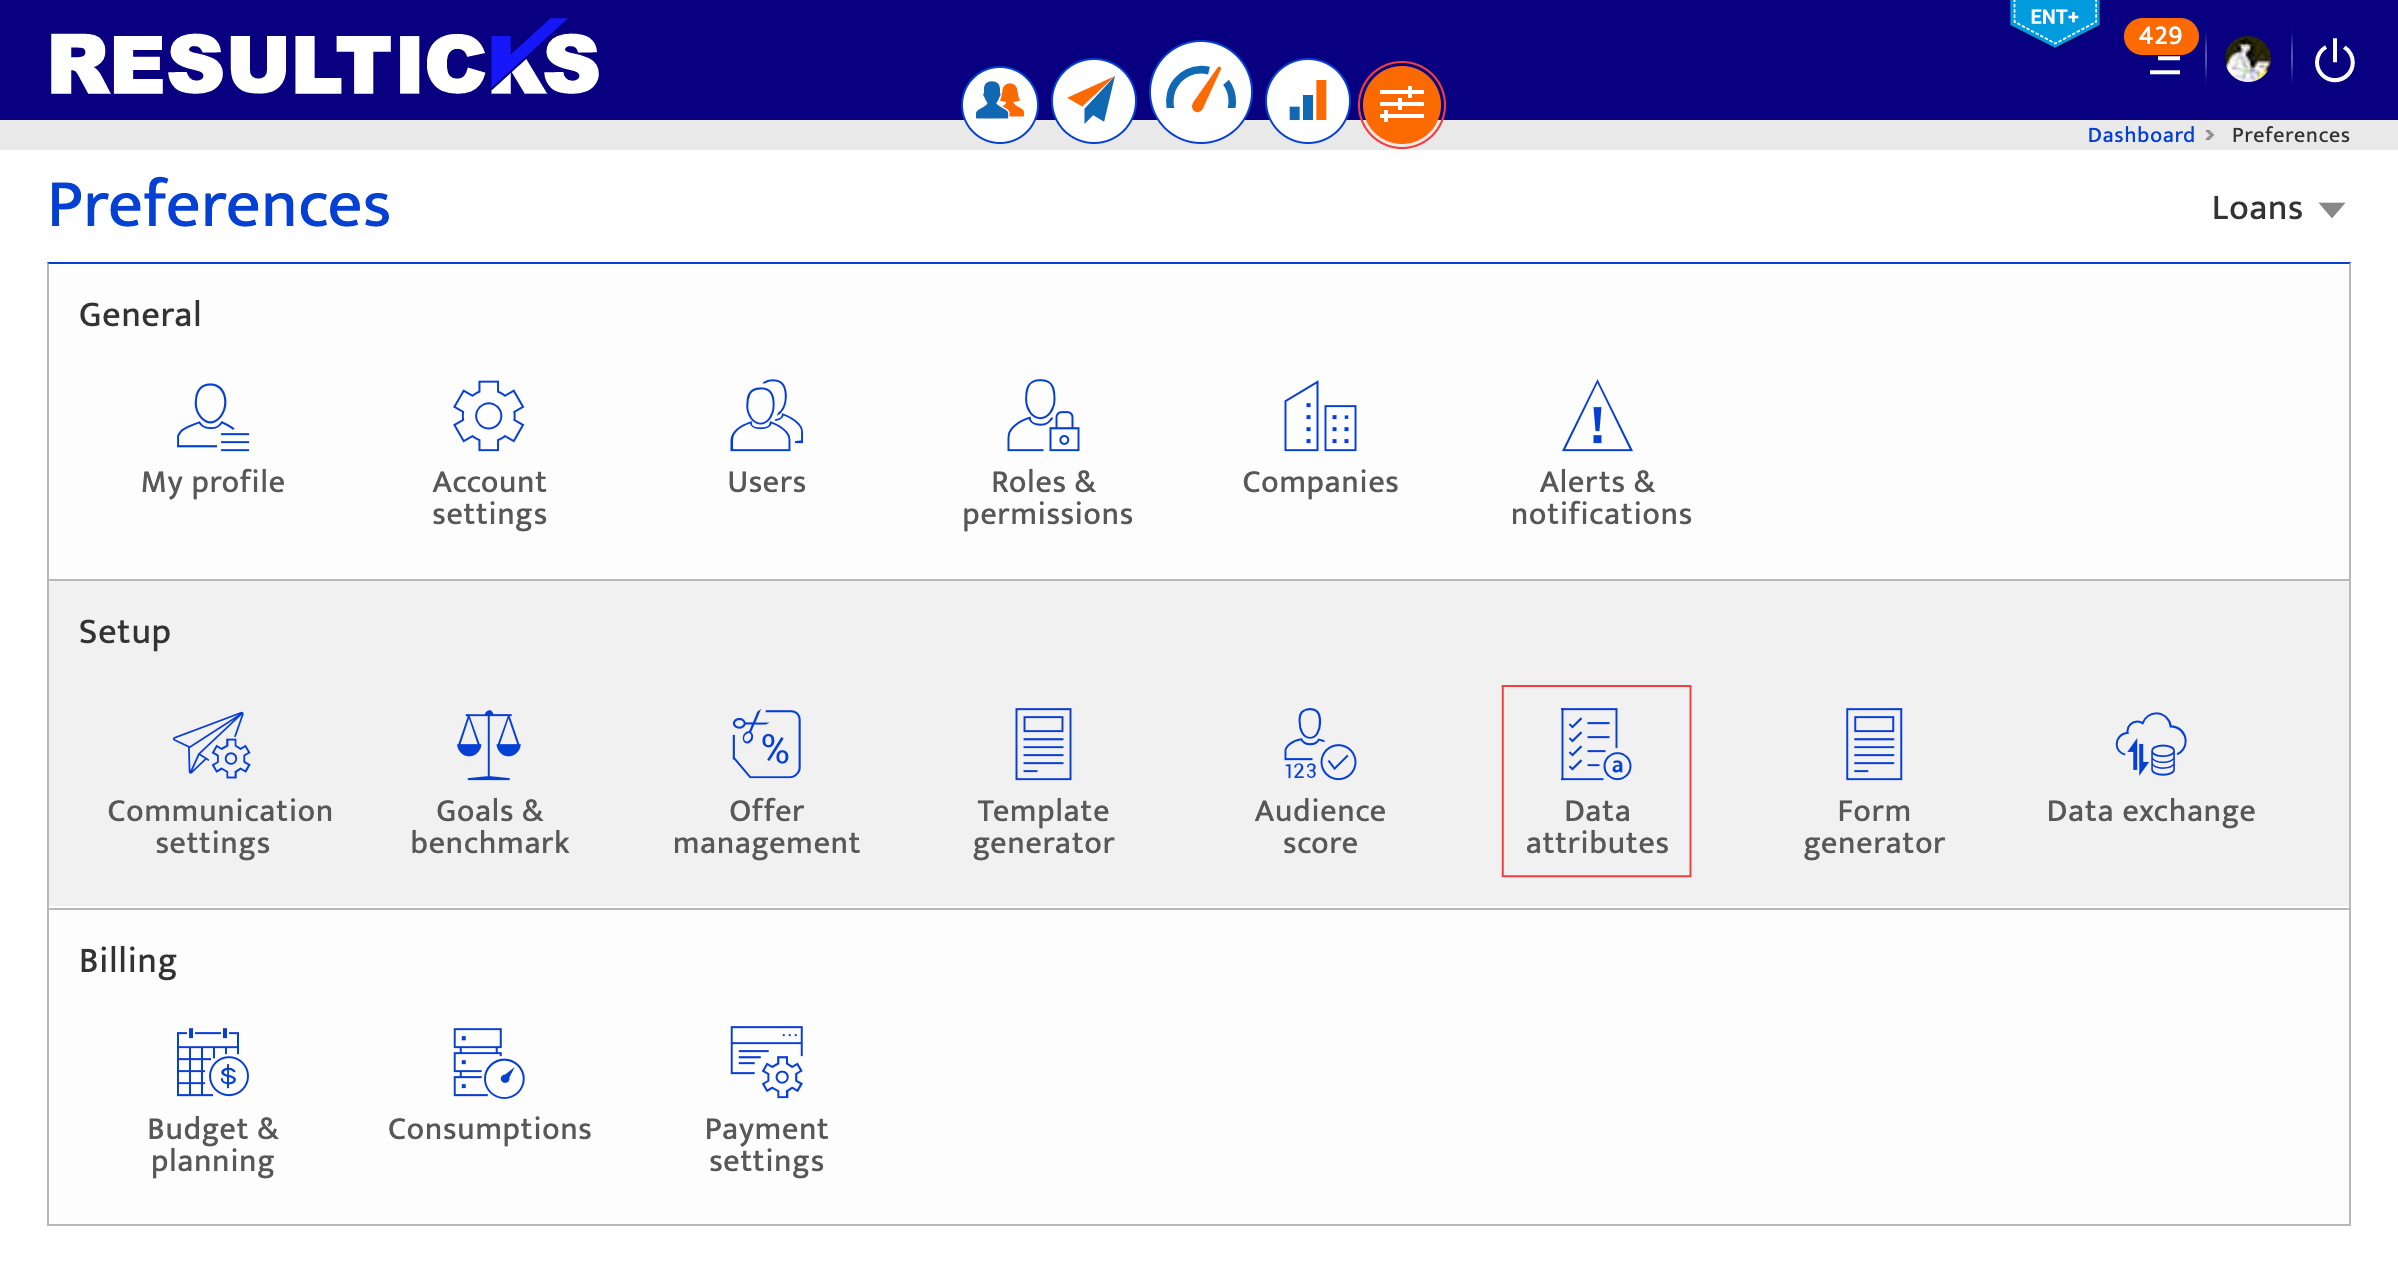
Accessing data attributes#
- Select the Preference Module
- Click on the Data attribute in the setup
Configuring data attributes#
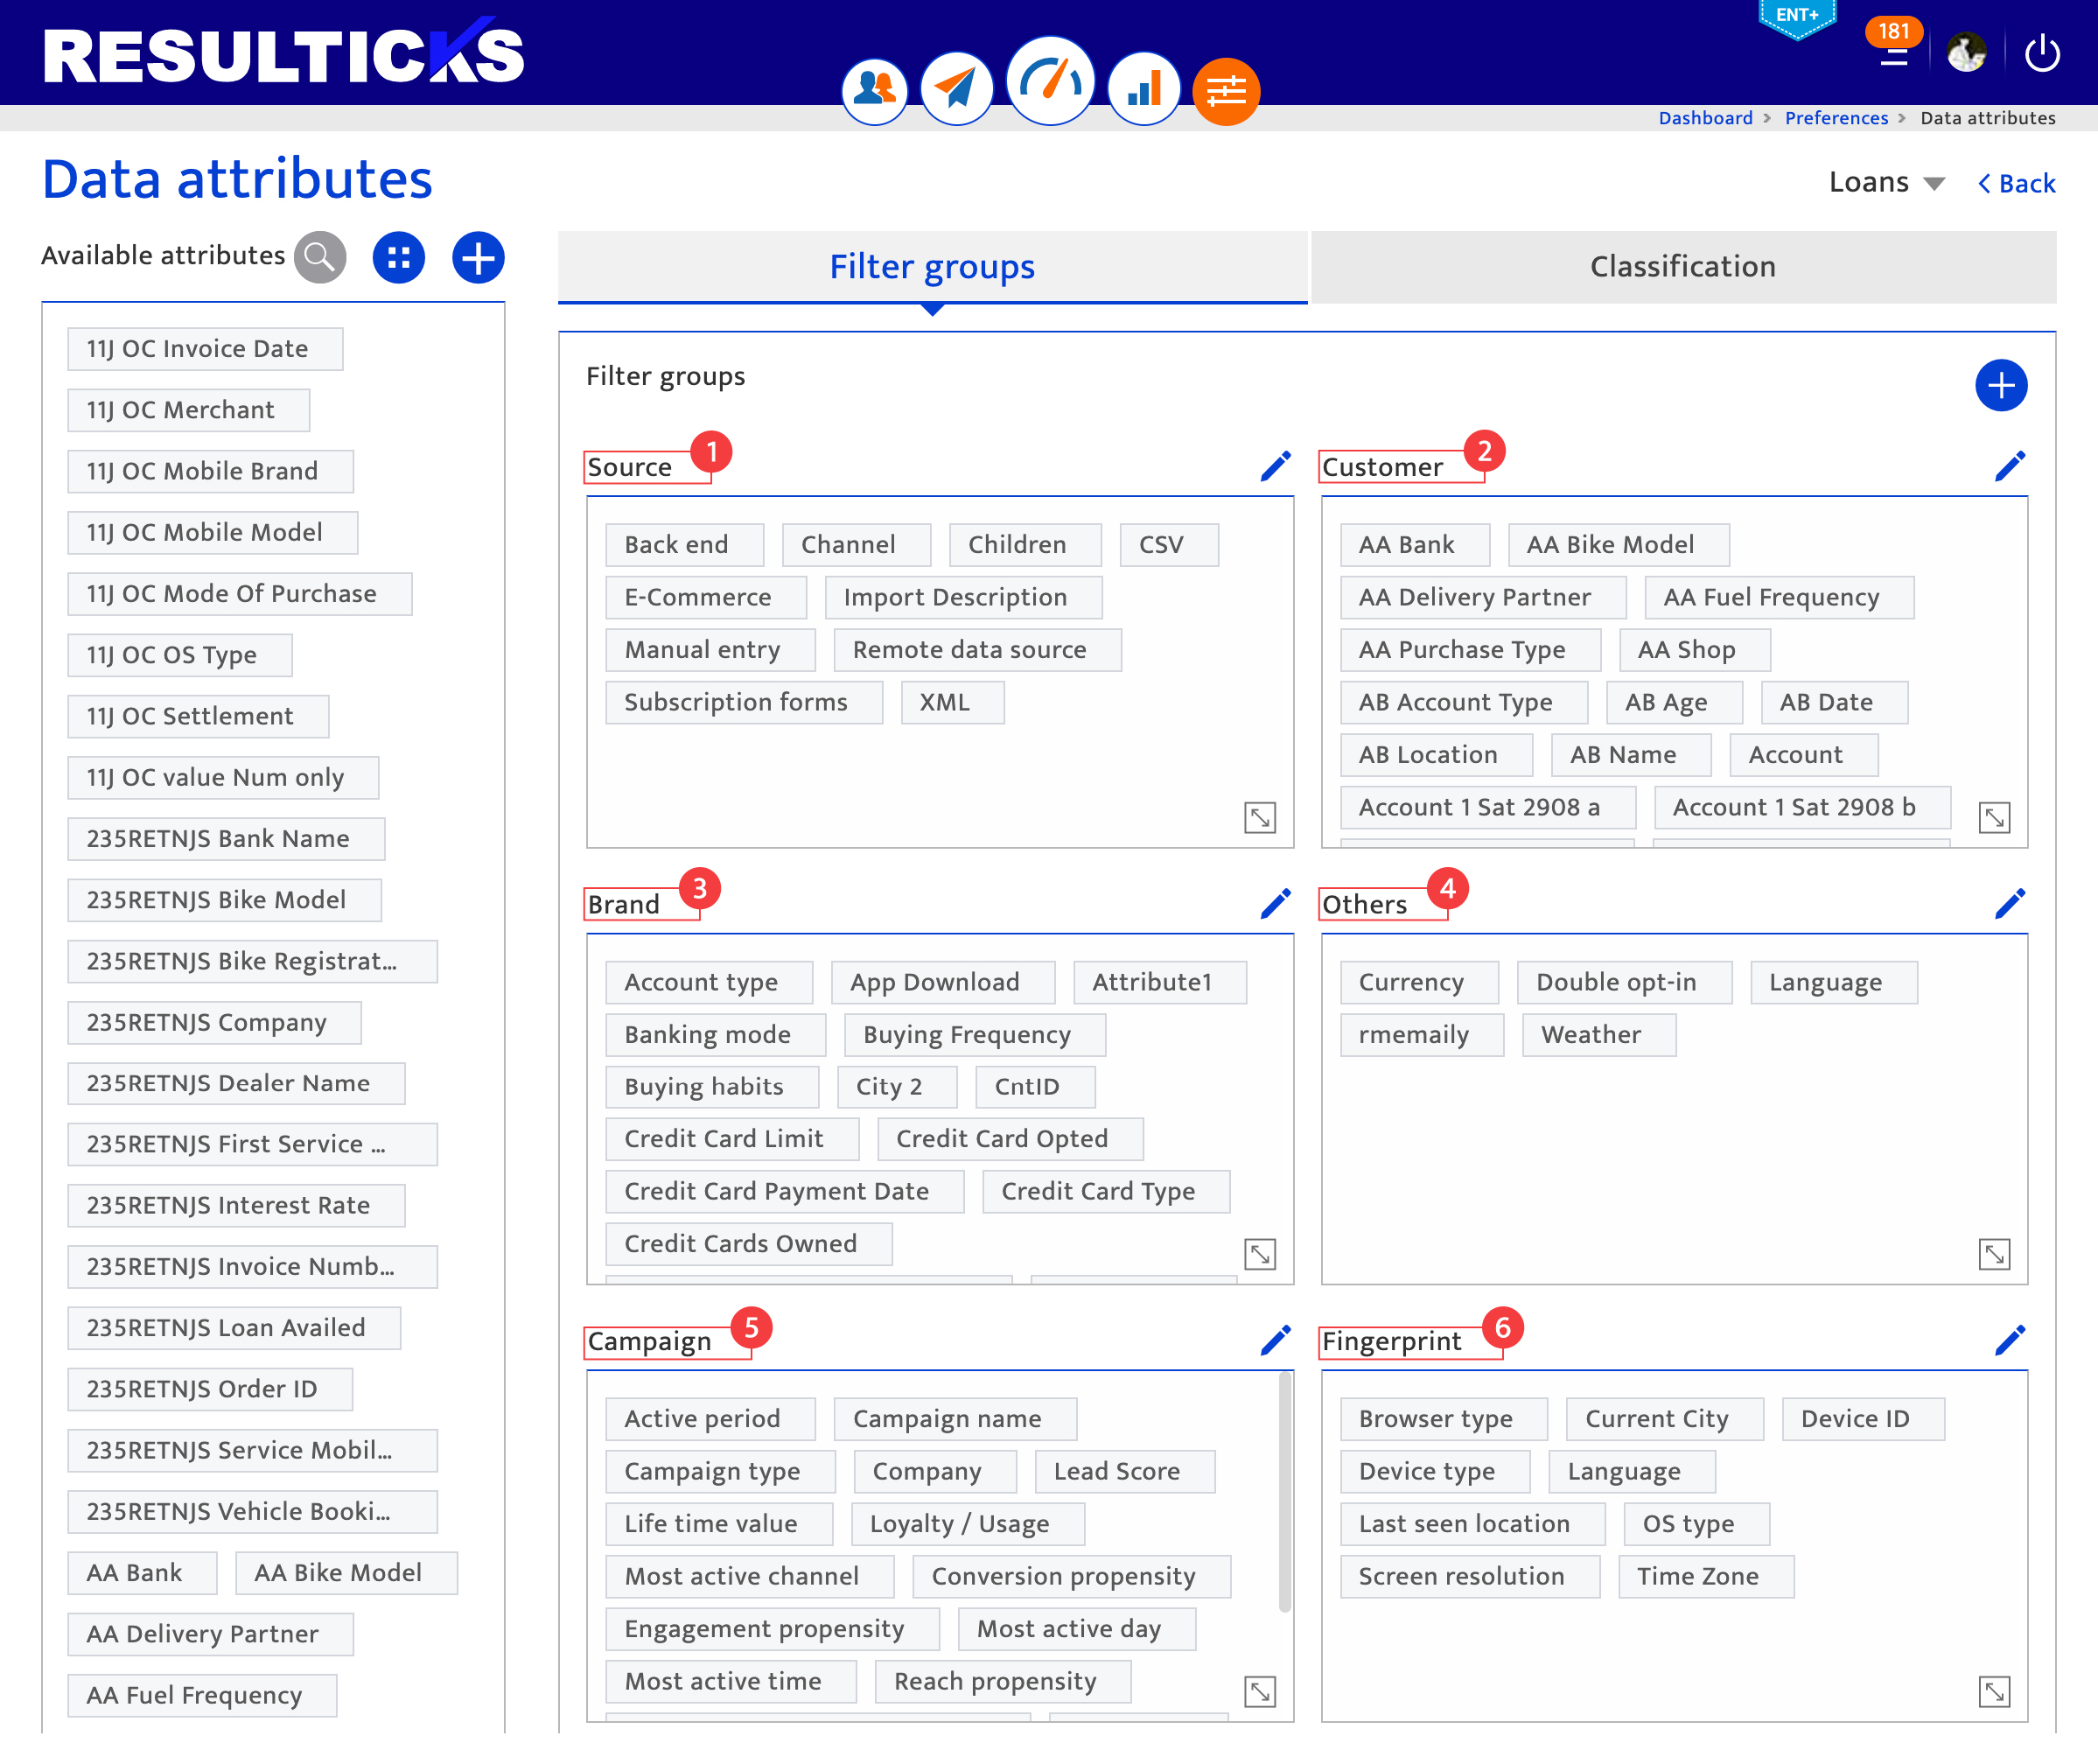
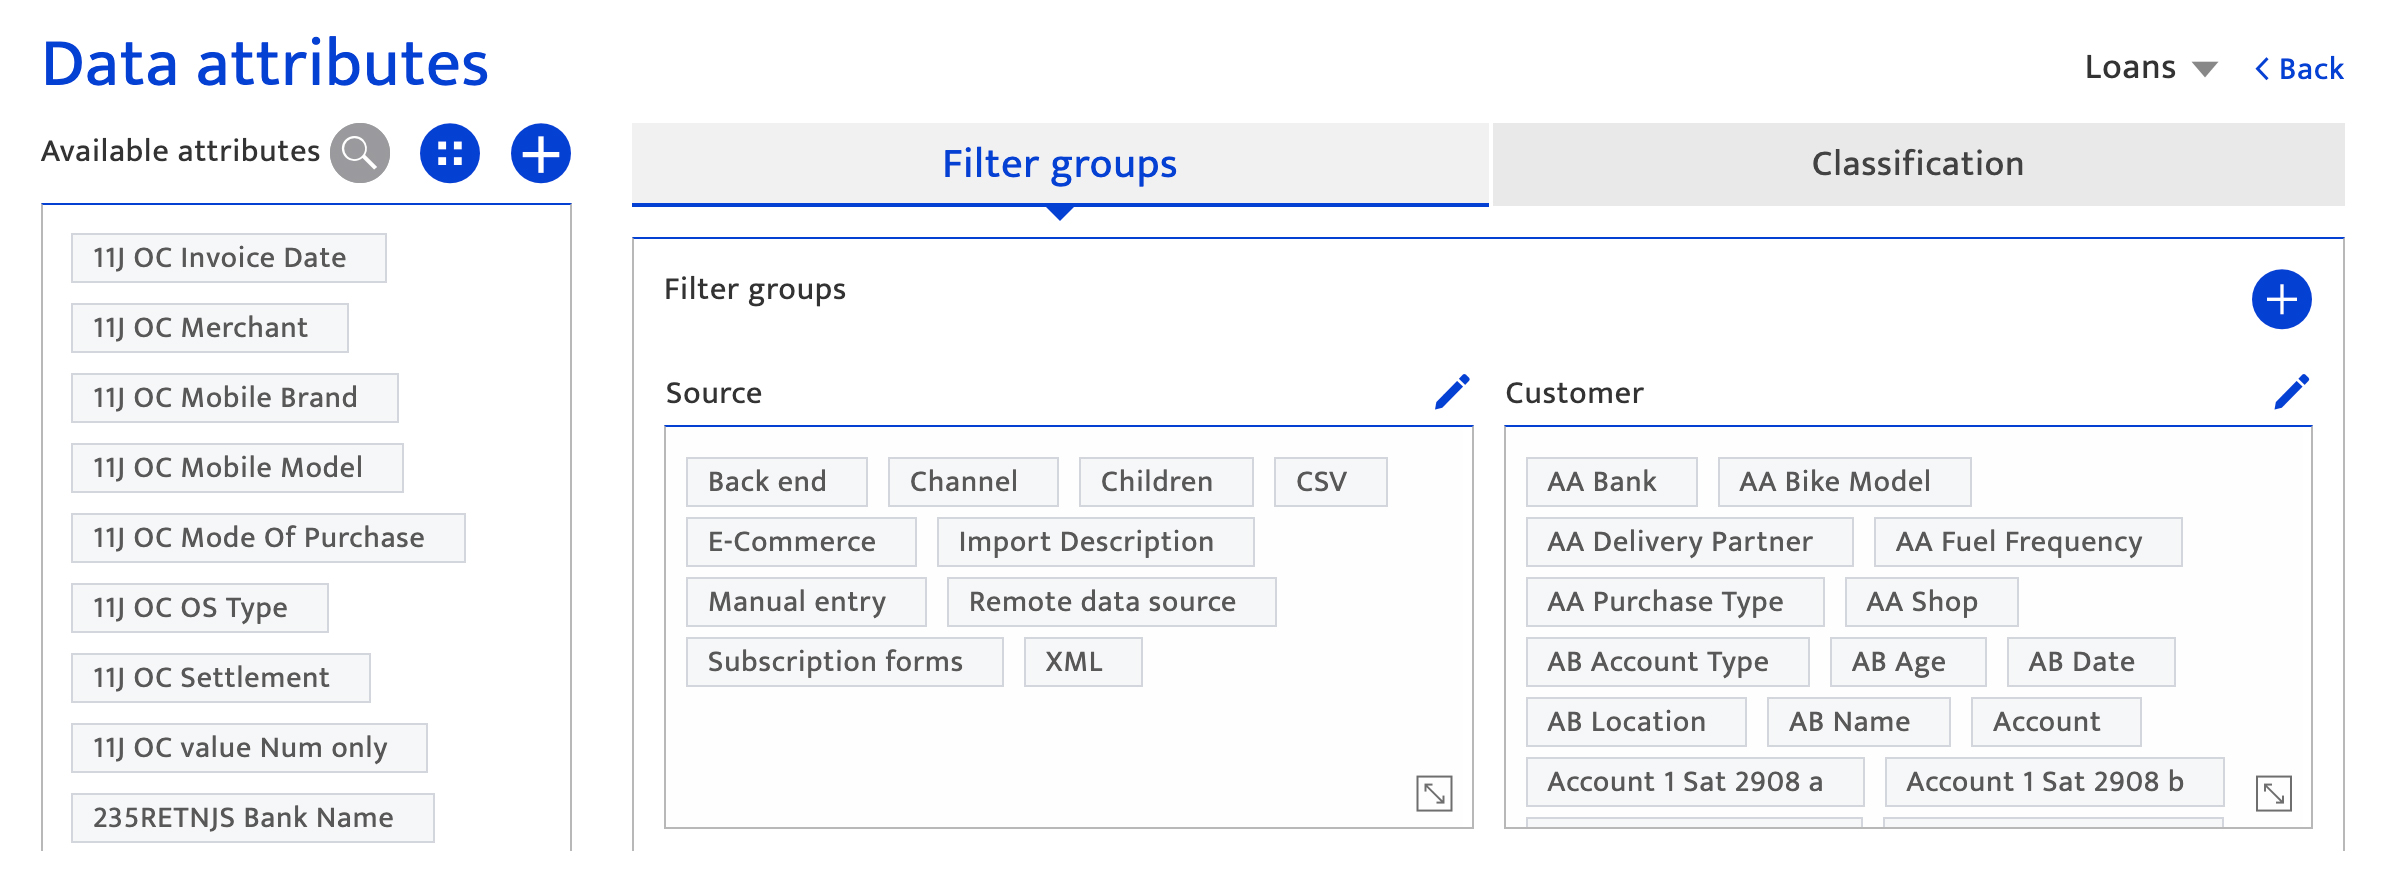
In the data attributes section, you can add new attributes as well as new filter groups and you can configure the hierarchy of which attributes roll up to which filter group. To navigate to the data attributes section, select Preferences and click on Data attributes.
Filter group set-up
The following default filter groups exist :
- Source
- Customer
- Brand
- Others
- Campaign
- Fingerprint
1. Usage of filter groups#
The filter groups are used to categorize data attributes based on the information that the data attribute holds.
- Source – Data attributes relating to the import of audience data.
- Customer – Data attributes based on the customer information.
- Brand – Data attributes based on a specific brand/ agency organization.
- Others – Any other unclassified data attributes are categorized in the Others – Filter groups.
- Campaign – Data attributes relating to interactions with campaigns
- Fingerprint – Data attributes categorized based on the device details.
1.1. Create a new data attribute#
- Click the Add attribute + icon for adding a new attribute.
In the New attribute popup, enter the Name of the attribute. Select the input type from the dropdown Input type, Data type, data Classification, and Filter group.
- Input type :
- Text and number
- Number only
- Date and time
- Data type : The type of data attributes identified, and are:
- Regular data
- Transaction data
- KPI (key performance indicator) data
- Data classification: Make a selection based on the intended use of the data attribute (besides target list creation)
- Filter group: Select the filter group from the dropdown which you would like the data attribute to roll up too.

Click Save to retain the information on the new attribute creation. Alternatively, click Cancel to exit the new attribute creation process
1.2. Create a new filter group#
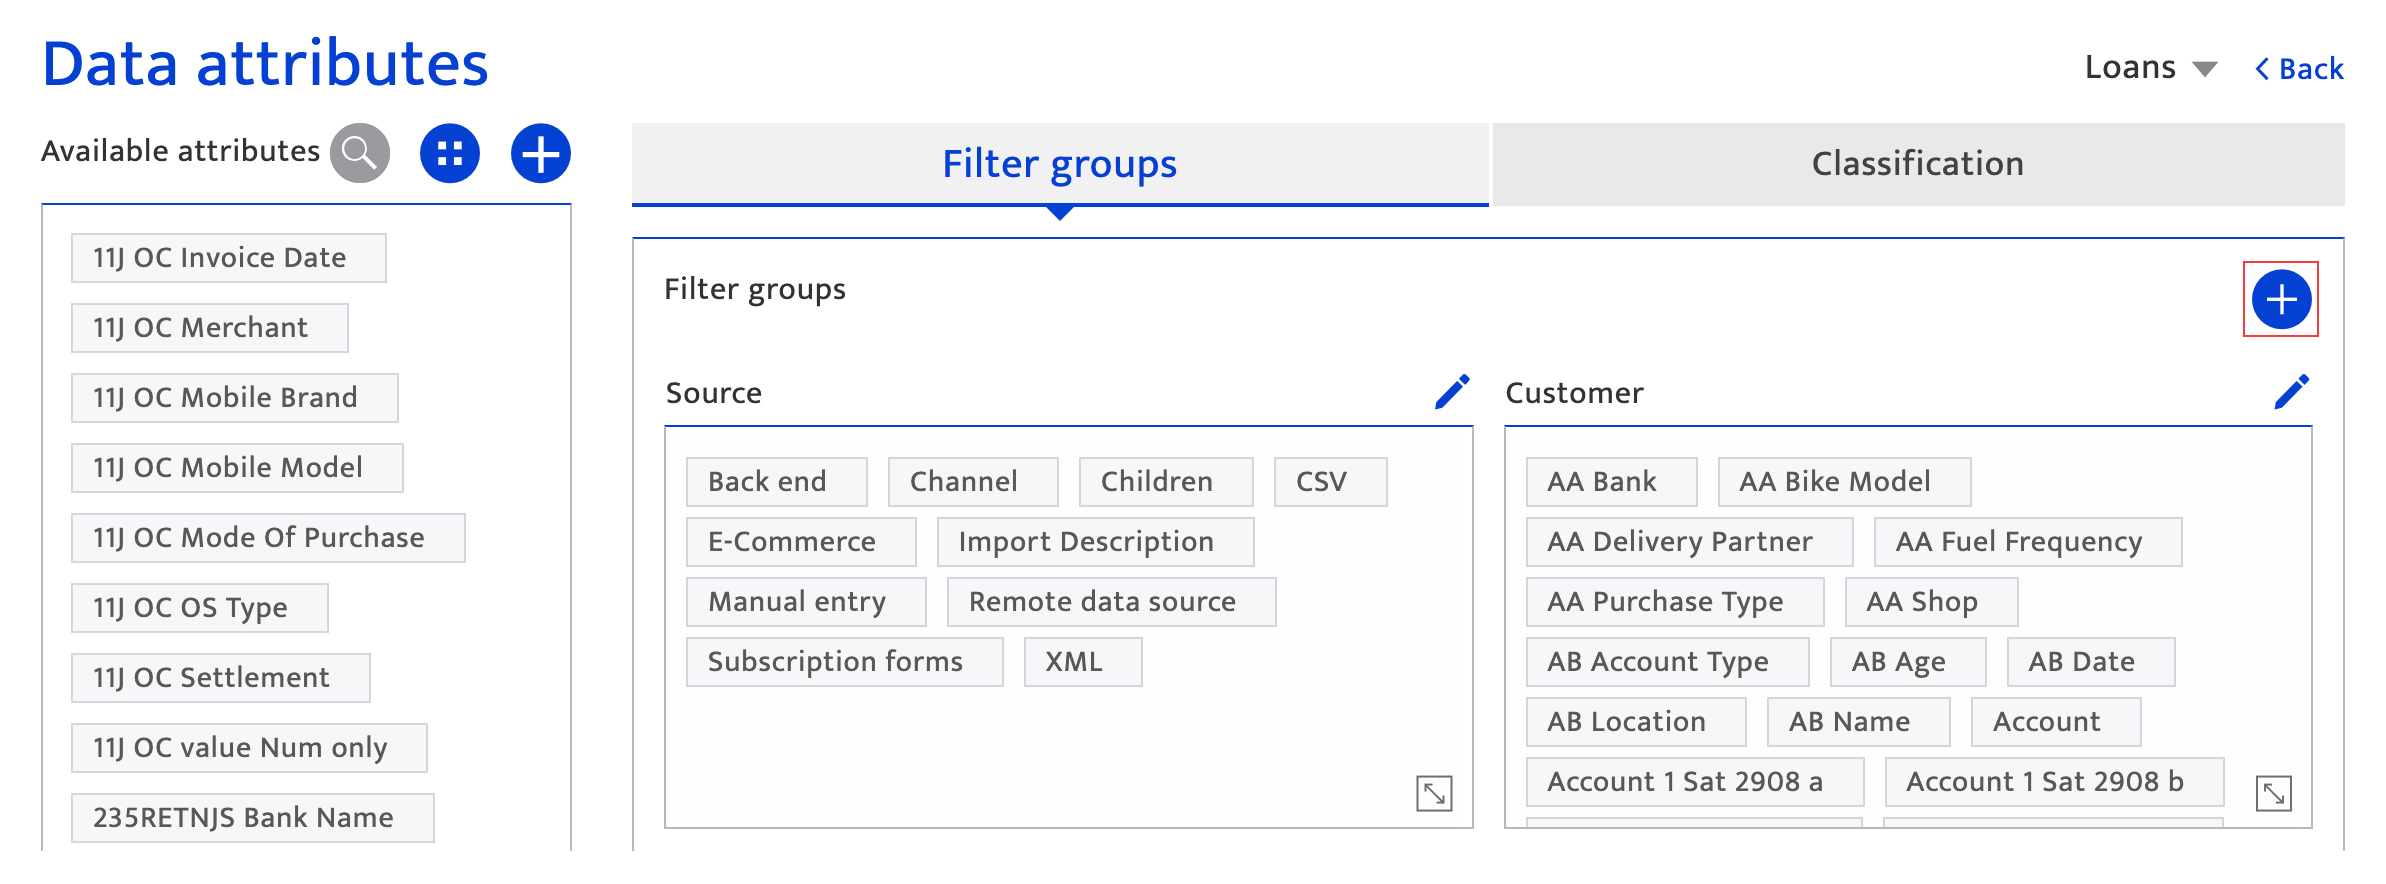
- Click the + icon highlighted in the screenshot above to create a new filter group.
- In the New category pop-up, enter the Category name. This name will display in the target list creation screen.
- Select Data attributes and add them to the category. These attributes will no roll up to this filter group in the target list creation screen.
- Click Save to retain the information on the new category creation.
- Alternatively, click Cancel to exit the new category creation process.
