Messaging-VMS
What is it?#
A VMS SDC campaign is a quick, direct way to interact with customers via Pre-recorded messages. VMS campaigns are a great way to interact with audiences in a personalized manner.
VMS campaign features#
Resulticks VMS campaign module enables:
- Uploading of VMS content
- Running of test campaign with an approval workflow
Two-step process#
VMS campaigns follow a two-step process in Resulticks.

In this module, we only address Step 2. For step 1, access detailed guidance at Plan a single dimension campaign .
Authorization and making changes#
Setting up a single dimension VMS campaign can be done by a Super User, Administrator, or the Key Contact for the account.
Accessing VMS campaign creation#
- Select the Campaign module and click on the "+" icon to add a campaign.
- Then select Single dimension delivery method.
- Select messaging in the Campaign Plan screen.
- Select messaging on the left panel.
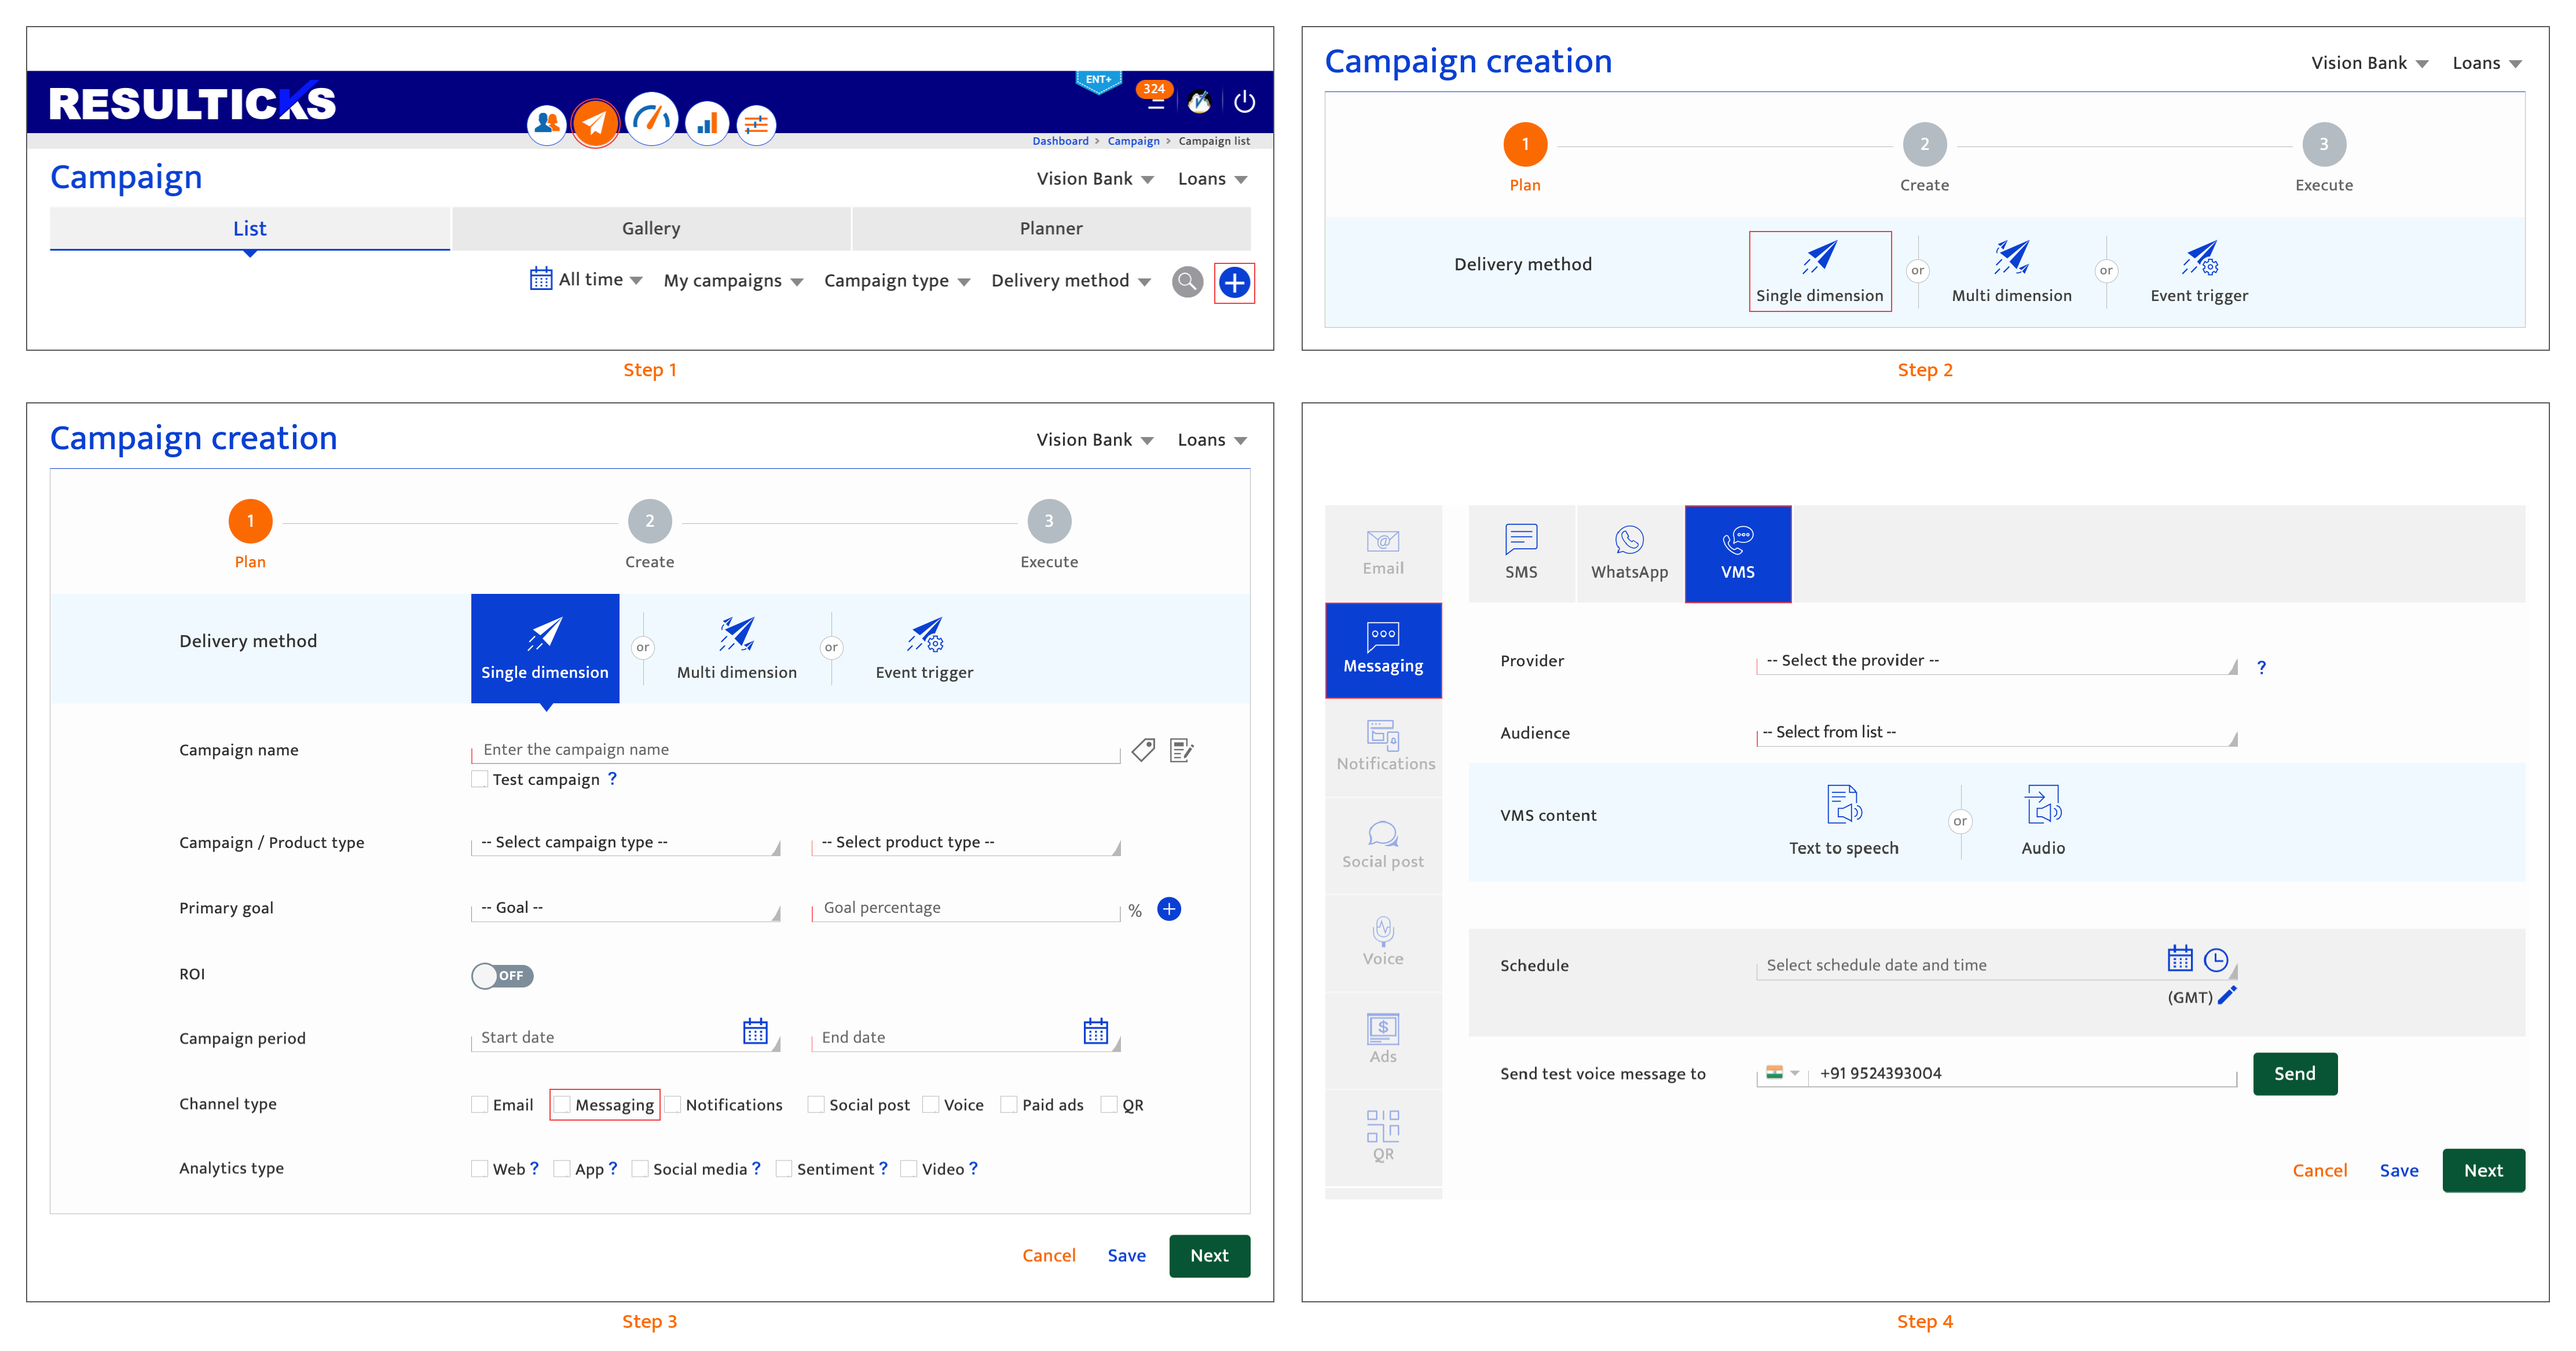
Creating a VMS campaign#
Once the campaign has been planned, create the VMS campaign following these steps:-
- Select the vendor to be used when blasting the VMS campaign.
- Select the audience by specifying the target list(s) from the drop-down list. Click the "+" icon to create a new target list.
- Upload your pre-recorded voice message Mp3 or Wav file by clicking the browse button and selecting the file from your system. The max size for this file is 5 MB.
- Set the number of times the voice message call is retried in case the audience member is not reached in the first try. Maximum number of retries allowed is 3.
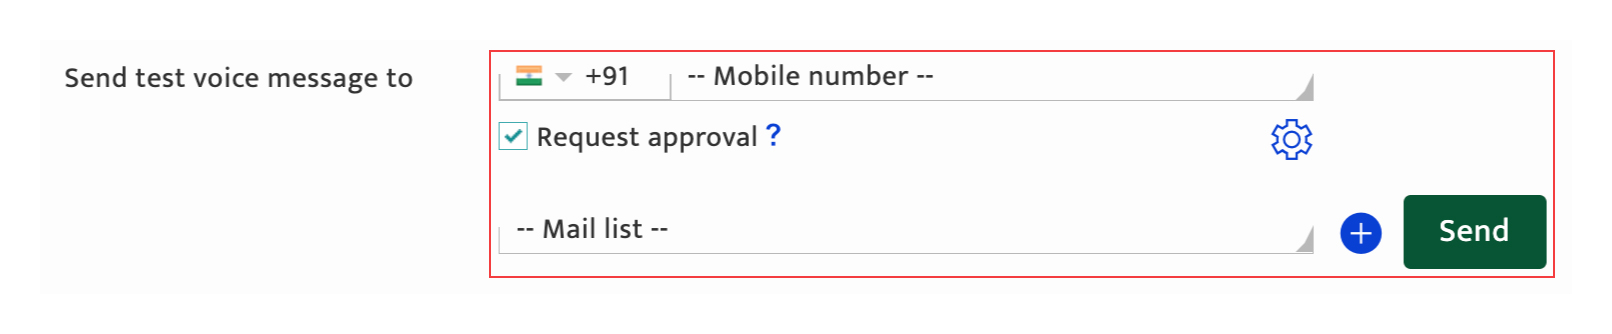
- Run a test campaign to send a test Voice message to one number. Only one number can be used.
- Schedule the campaign by entering the date and time to send it out. Enter the details in the format displayed or use the icons provided. Edit the time zone by using the pencil icon. The campaign schedule must fall within the campaign duration set when planning the campaign.
- Save the campaign Click "Next" to save the content settings and move to the next action.
- Save the VMS campaign settings and exit or select another action.
- Proceed to the next stage in the campaign creation process.
There are 4 options to proceed:- Click "Save" to save the current input and return to the Campaign list
- All mandatory fields on the current screen must be completed to save successfully. The platform will highlight any missing mandatory information. If mandatory information is not completed and no other option is selected, any current input is discarded.
The campaign will be saved as "Draft" if it is a new campaign. If the user has been editing a "Draft" or "Scheduled" campaign, the campaign state does not change. - Click "Next" to save the current input and proceed to the next step which is sequenced as follows:
- The input screen for the next channel type selected during the planning step is displayed.
- If setup for all channel types selected has been completed, the Campaign execution screen (pre-campaign analytics) is displayed.
- Click on another channel type. Only channel types selected during the campaign planning stage will be available. Input for the current channel type is discarded unless the user clicks "Save" or "Next".
- Click "Cancel" to return to the Campaign list screen. Any current input since the last time "Next" button was clicked is discarded.